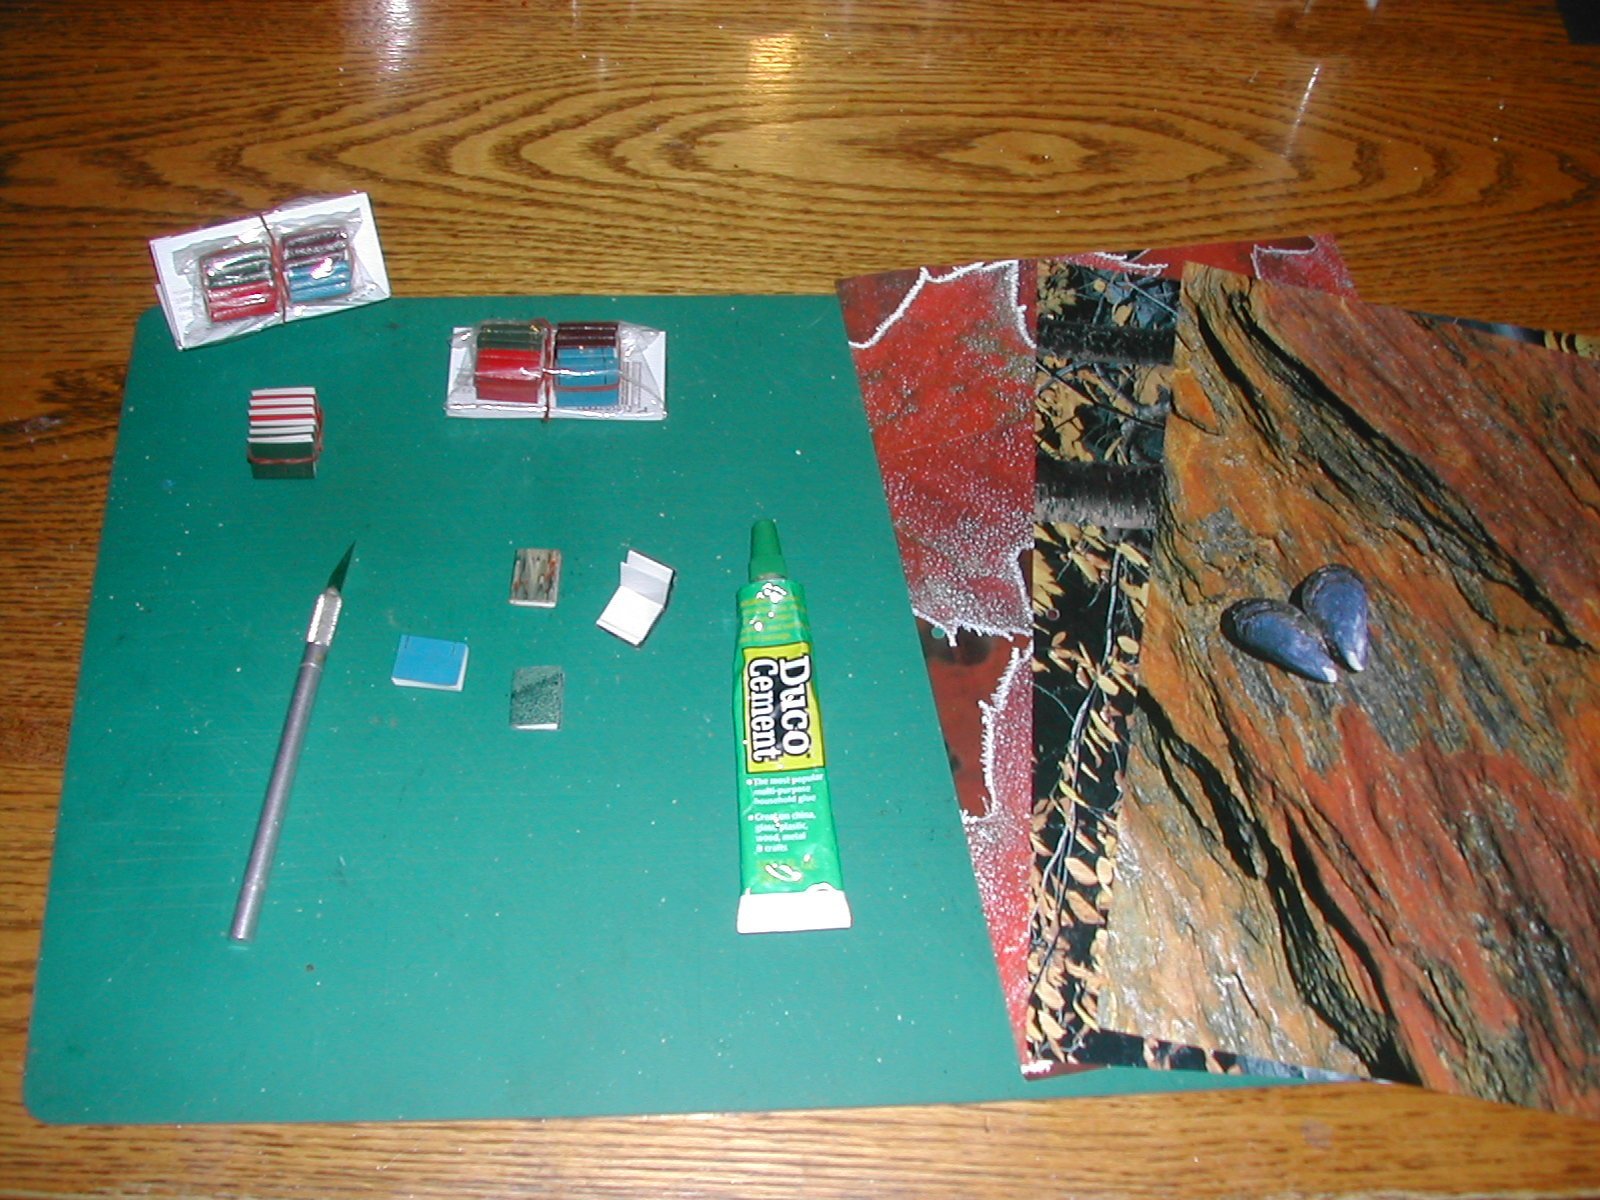
| These were the tools used in making
the books. We also used a pair of long nosed curved tweezers and a long
handled clamp tweezers (both of which are in Michigan now). The
clamp tweezers were very important for holding the book parts in place
while the glue dried. To the right you can see parts of
picture calendars we cut and used for book covers. When small sections
were cut out of the pictures they became very realistic looking.
We also used a half round dowel to make the spine of the book
rounded. An X-acto knife, book blanks and a tube of Duco cement were necessary tools. As book blanks are actually too large to be in scale, we cut them down in size to imitate normal sized books of varying sizes. Then a half round dowel was glued on and a cover was attached, always making sure that the cover was slightly larger than the book. The clamp was attached and while we waited for the glue to set, we began working on the next book. we had a two person assembly line in operation for many months to get these made. Gold paint was frequently applied to the page edges as you may find it on real books. |
 |
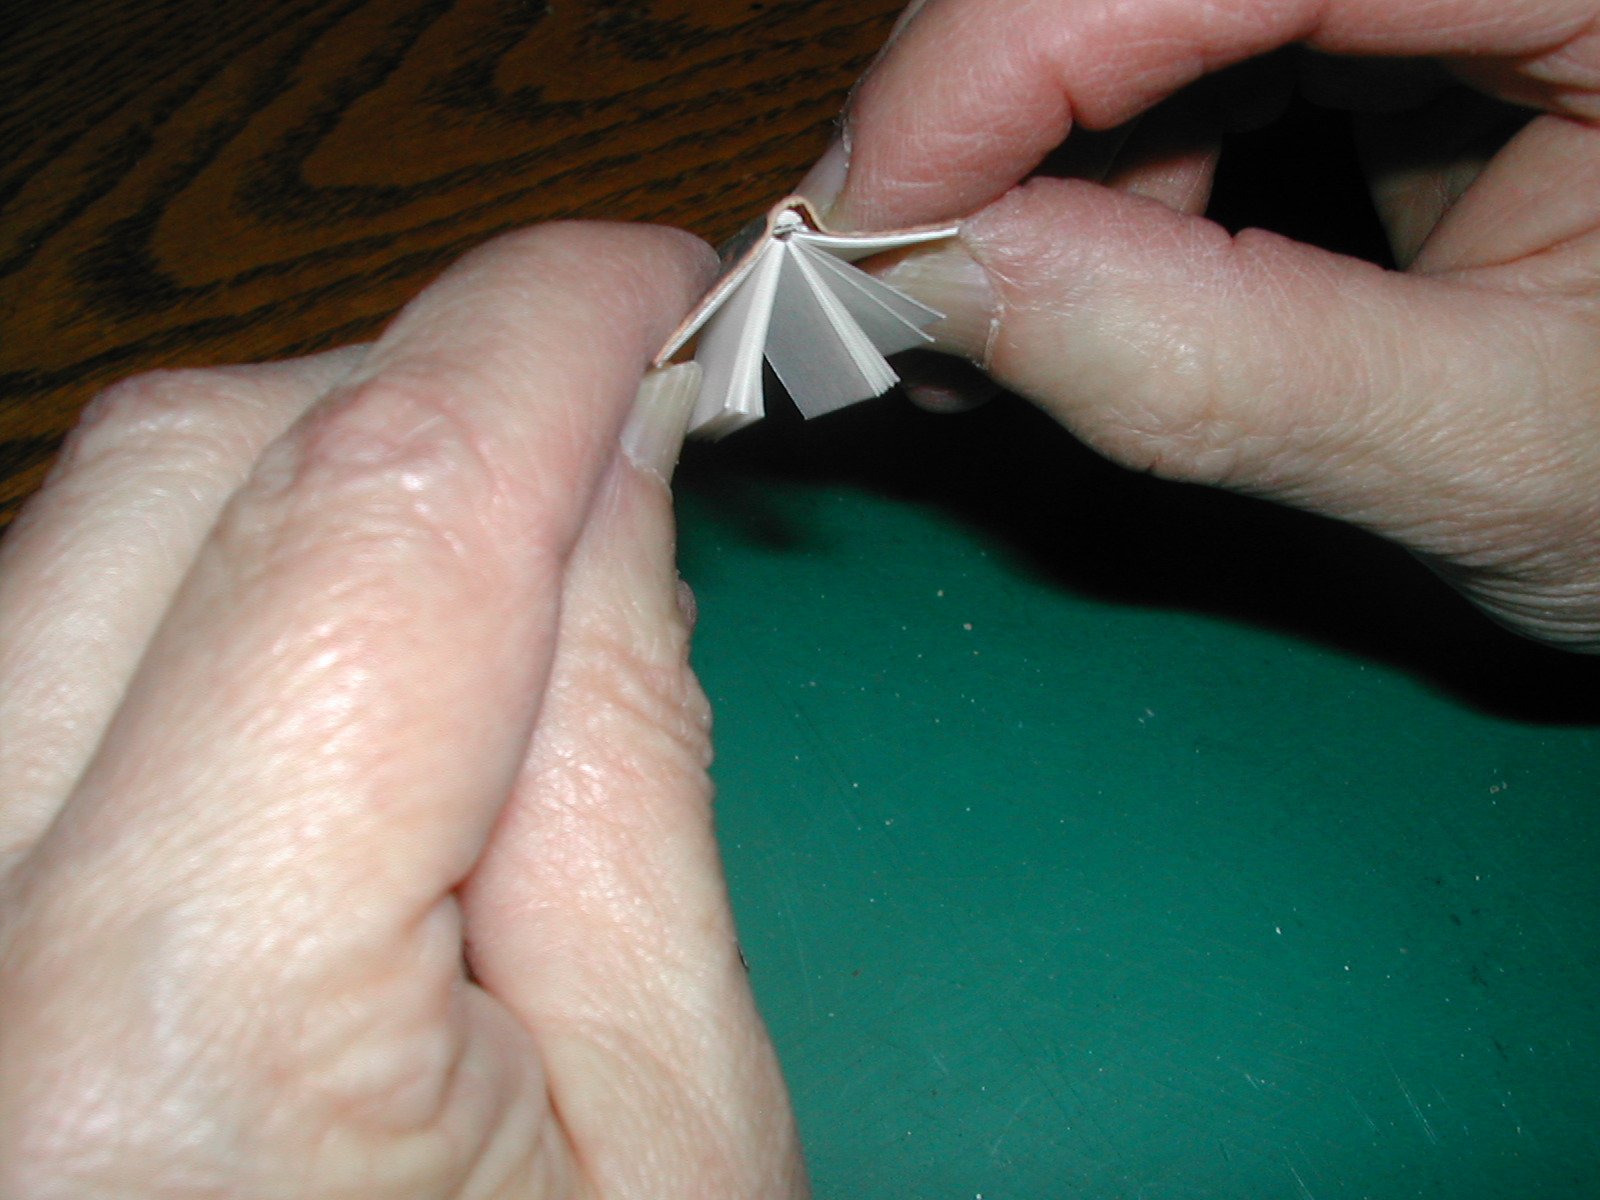
| Here is a photo of a completed book showing that they have real pages that can be opened. In most cases, the books are held in place using a rubbery film that can be easily removed and will not stick to the glossy covers. Key books in easily reached shelves are left loose on the shelves so that people can examine them more closely. But because the book pages are held tighter near the spine, when books are placed on shelves they acted like a spring and if one book is touched, the others all sprung out on their own accord. As it can take many hours to load one self of a bookcase, the semi permanent method was used when loading them. Because the books are different sizes, it was necessary to make sure that book spines remained straight when loaded on the shelves. A "stop strip" of wood was glued onto each shelf to keep the books in a foreword position and to keep them from sliding to the back of the shelves. Many of the books have very tiny gold lettering on their spines and these titles can be read using a very strong magnifying glass. |
 |