The first
step was to make the frame for the glass windows. Each door has two
frames.
The inside frame is made from 1/16" maple sheets. The outside
frame is made from 1/8" maple sheets. The outside frame is shown on the
photograph to the right. Three sides have been placed in the jig. Note
that the frame has a 1/16" recess for the window which was cut from a
plastic CD jewel case. The forth side has not jet been placed in
position. Note carefully how the corners are lapped to provide a larger
gluing surface. Note also that the locations of the mullions are
marked in pencil on the jig.
|
 |
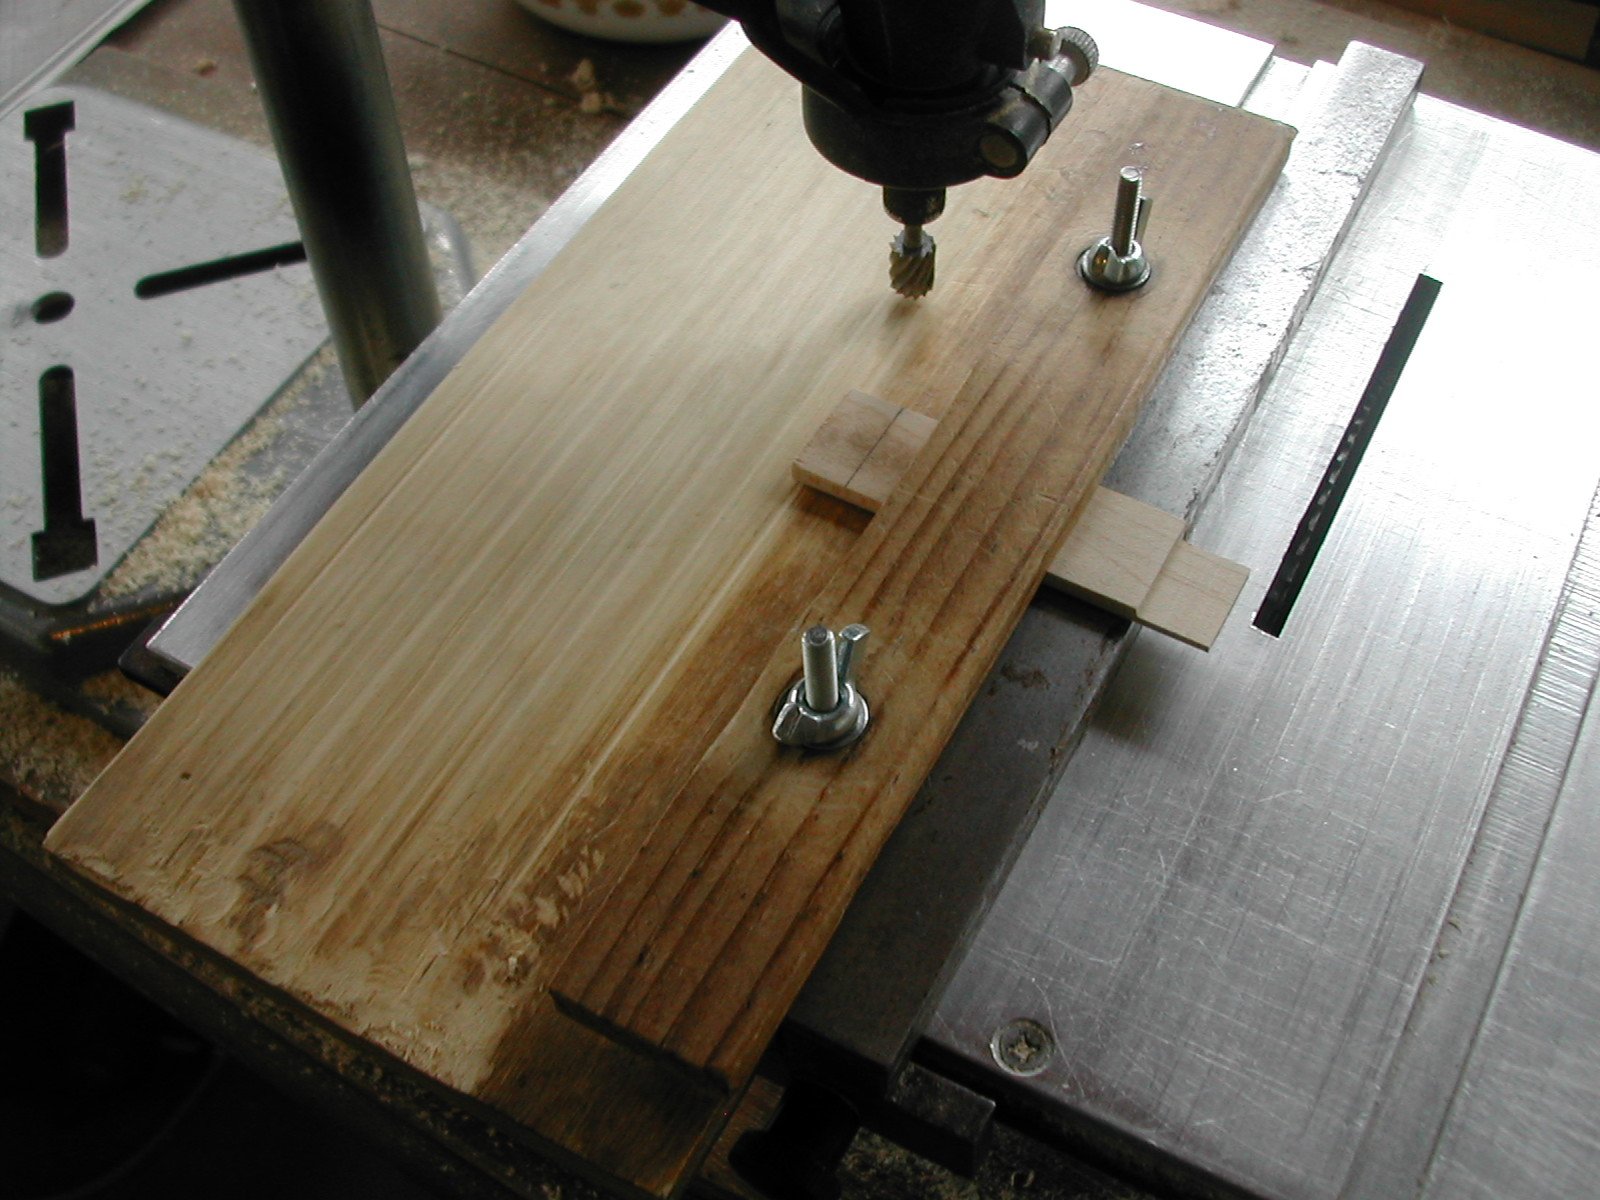
The forth
side, shown in the photograph to the right, is mounted in the milling
machine clamp. It is now ready for milling the lapped corner. The other
end
has already been milled and ready for putting into position. The
mullions are made in the same manner as those for the windows. The
frame, after sanding and gluing with Elmer's Carpenter's wood glue, is
then
ready for painting.
|
 |
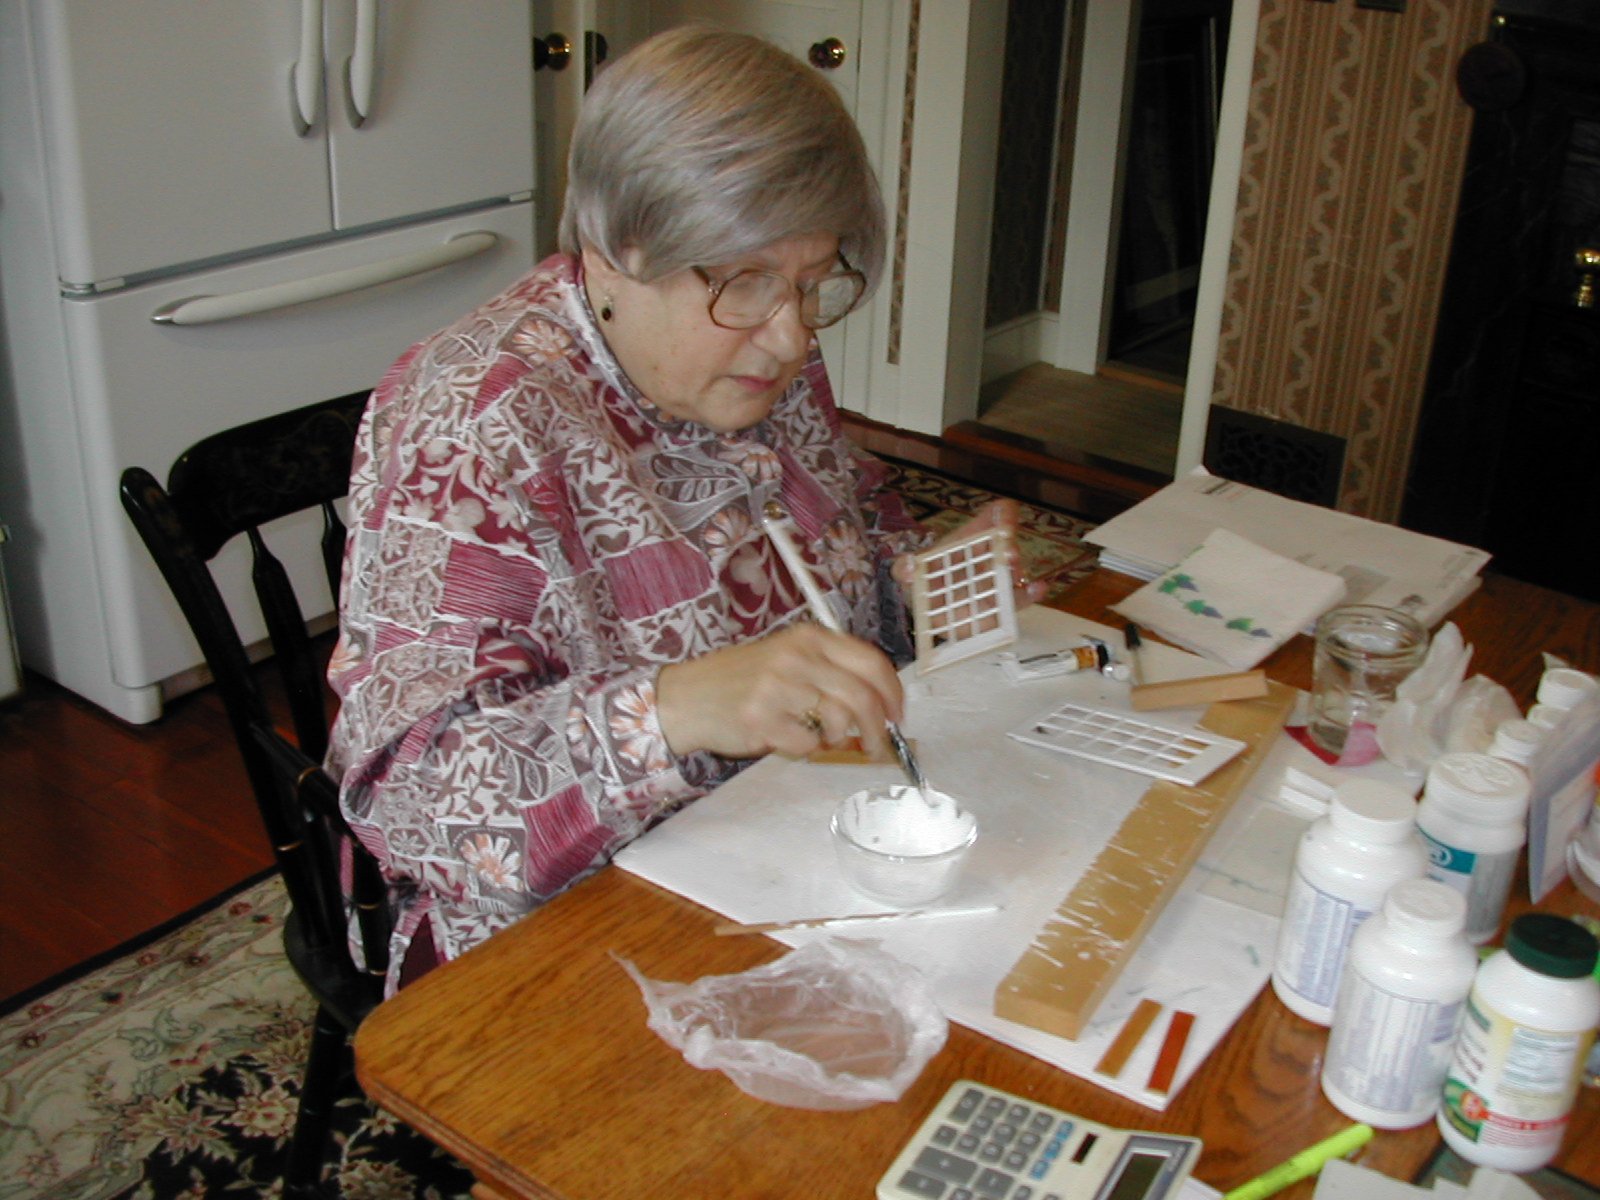
Here Eve is
painting the two sides of the door. Two coats of white primer were
applied and then two finishing coats of high gloss indoor paint.
Everything was sanded in-between each coat.
|
 |
This
photograph shows the two sides of the door waiting for the paint to
dry. It was important to paint both sides of each panel because
the width of the plastic "glass" was deep enough so that you could
notice if the back of each side was actually painted white. The first
time we assembled a window having painted only one side, it became
immediately obvious that both sides needed to be painted.
|
 |
After the
paint has dried, the door is ready to be assembled. Shown in this
photograph are the two sides of the door and the plastic CD jewel case
cut
and sanded lying diagonally across the lower panel.
|
 |
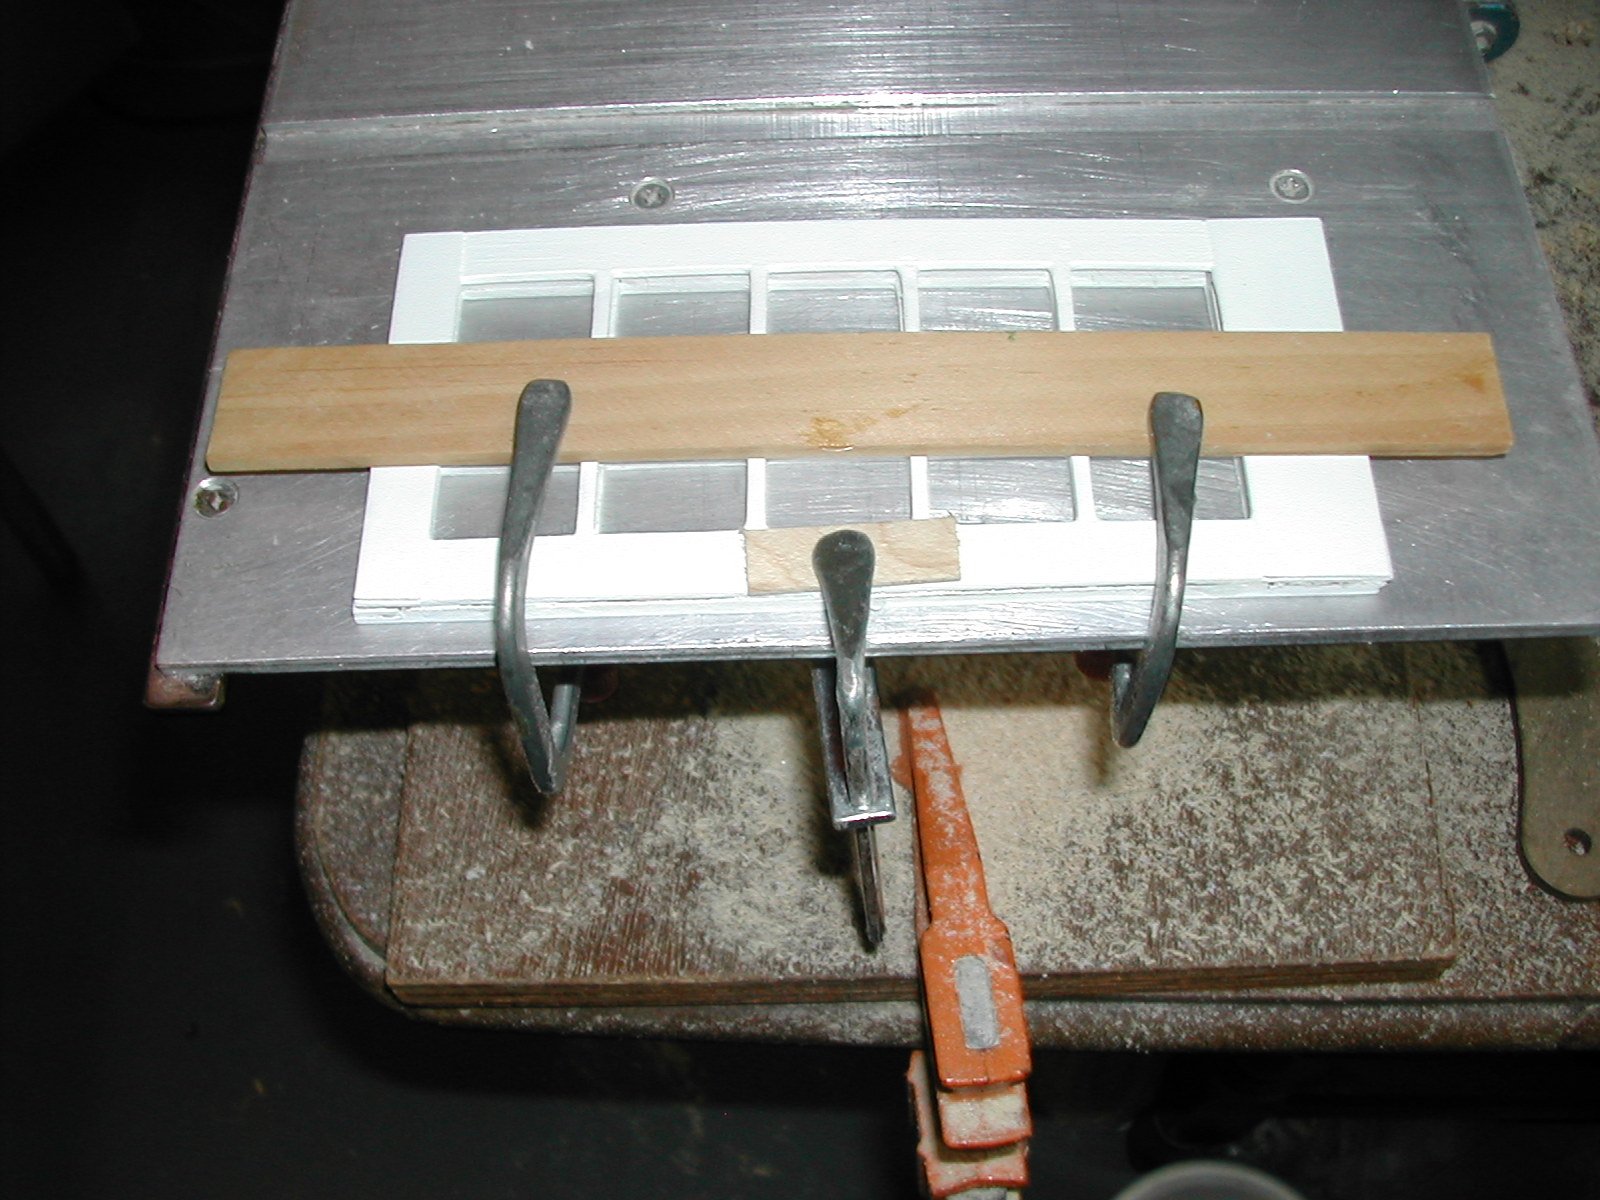
These parts
are then glued together with five minute epoxy. In this photograph the
unit is clamped together waiting for the epoxy to completely set
(approximately
one hour).
|
 |
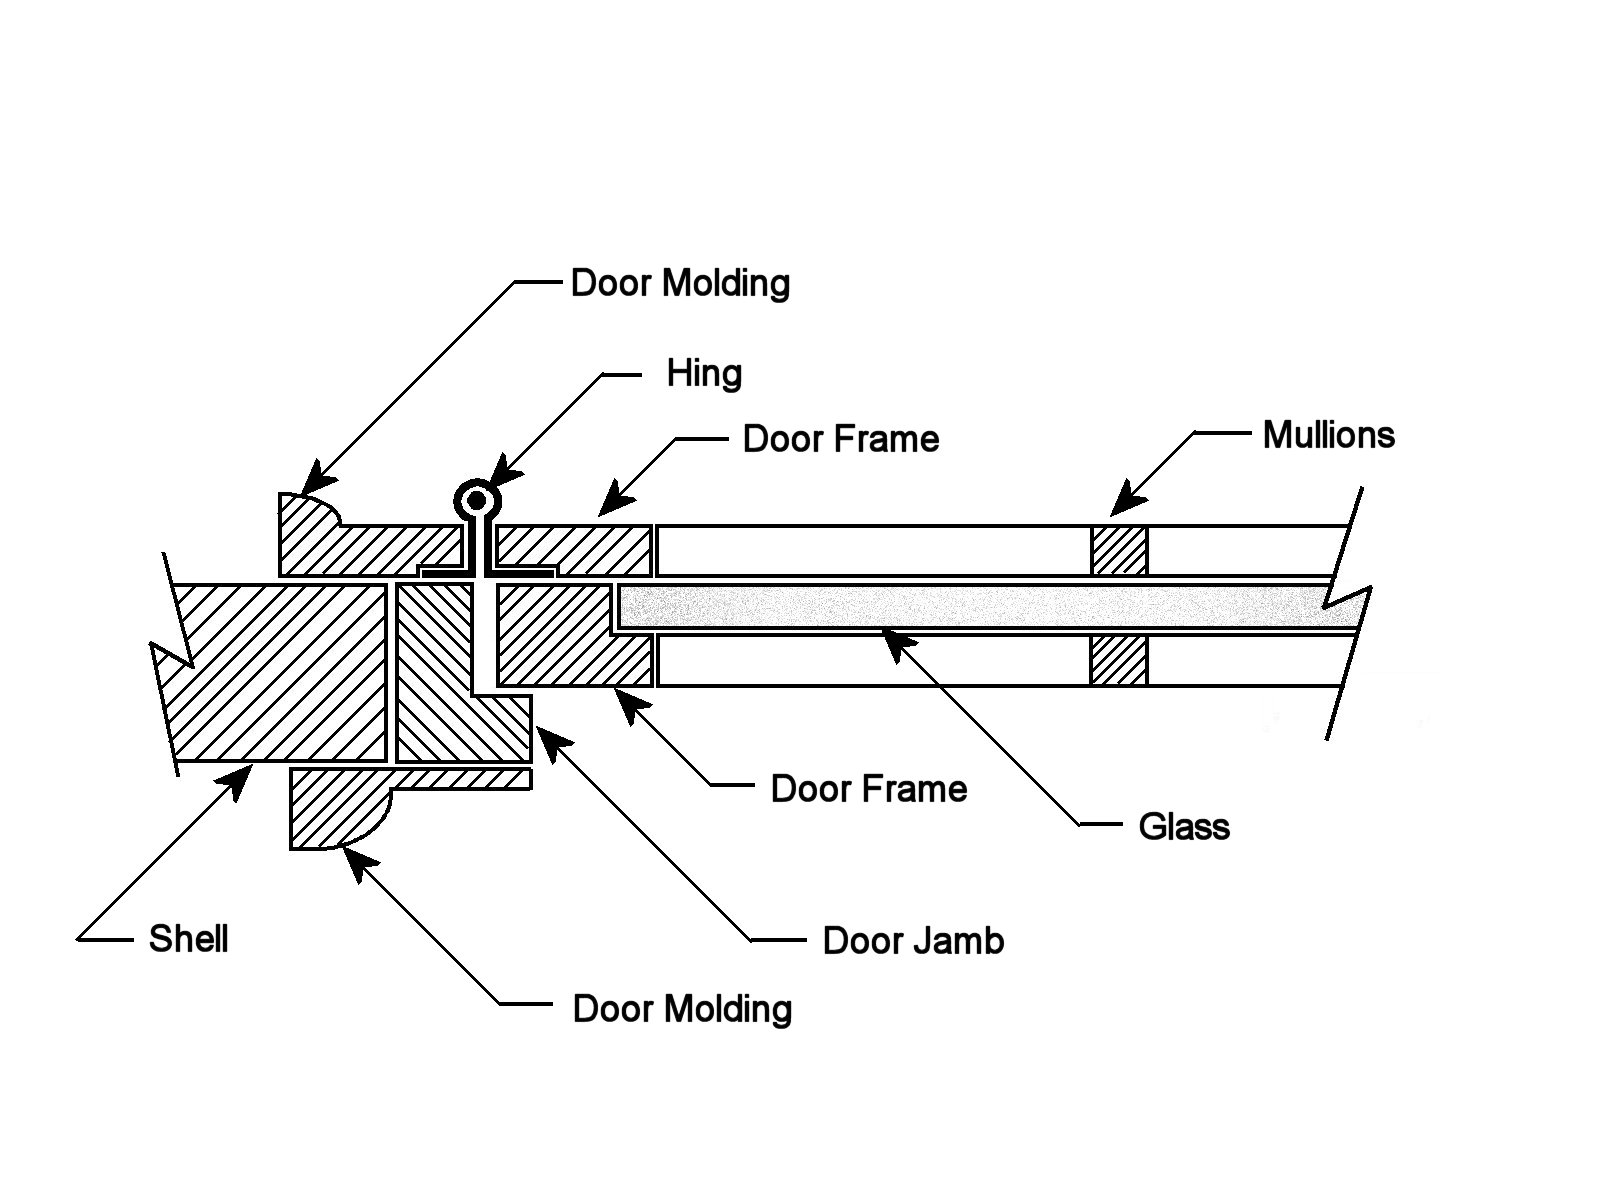
The sketch at
the right (not to scale) shows a crossection of the door, door jamb and
shell illustrating how the door hinges are mounted. These parts are
glued together with five minute epoxy.
|
 |
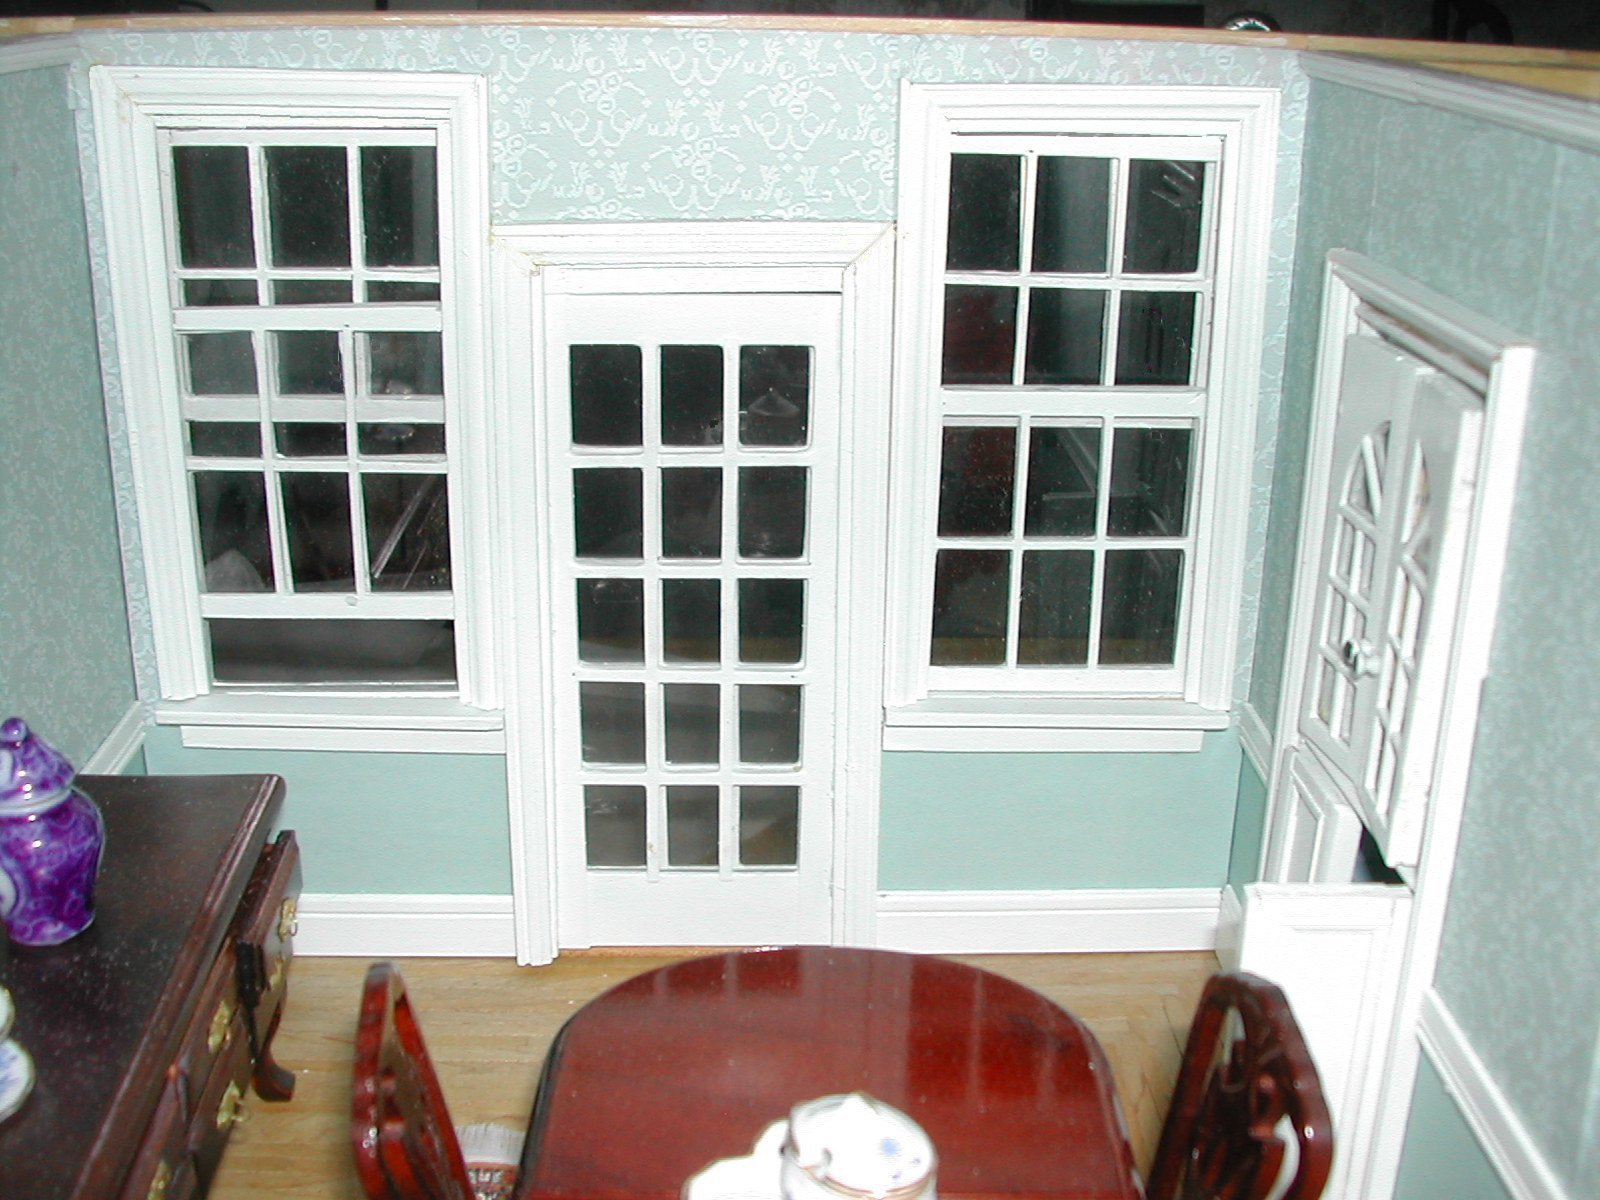
Here is the interior of the dining
room panel that opens to allow access. The door is flanked by two
windows. As we do not actually use this door in the full size house, we
treat the entire wall as windows using a deep valance across all three
units (which serves to hide the fact that the middle door is much
lower than
the window frames) and floor length curtains along the entire wall to
create a wider illusion.
|
 |
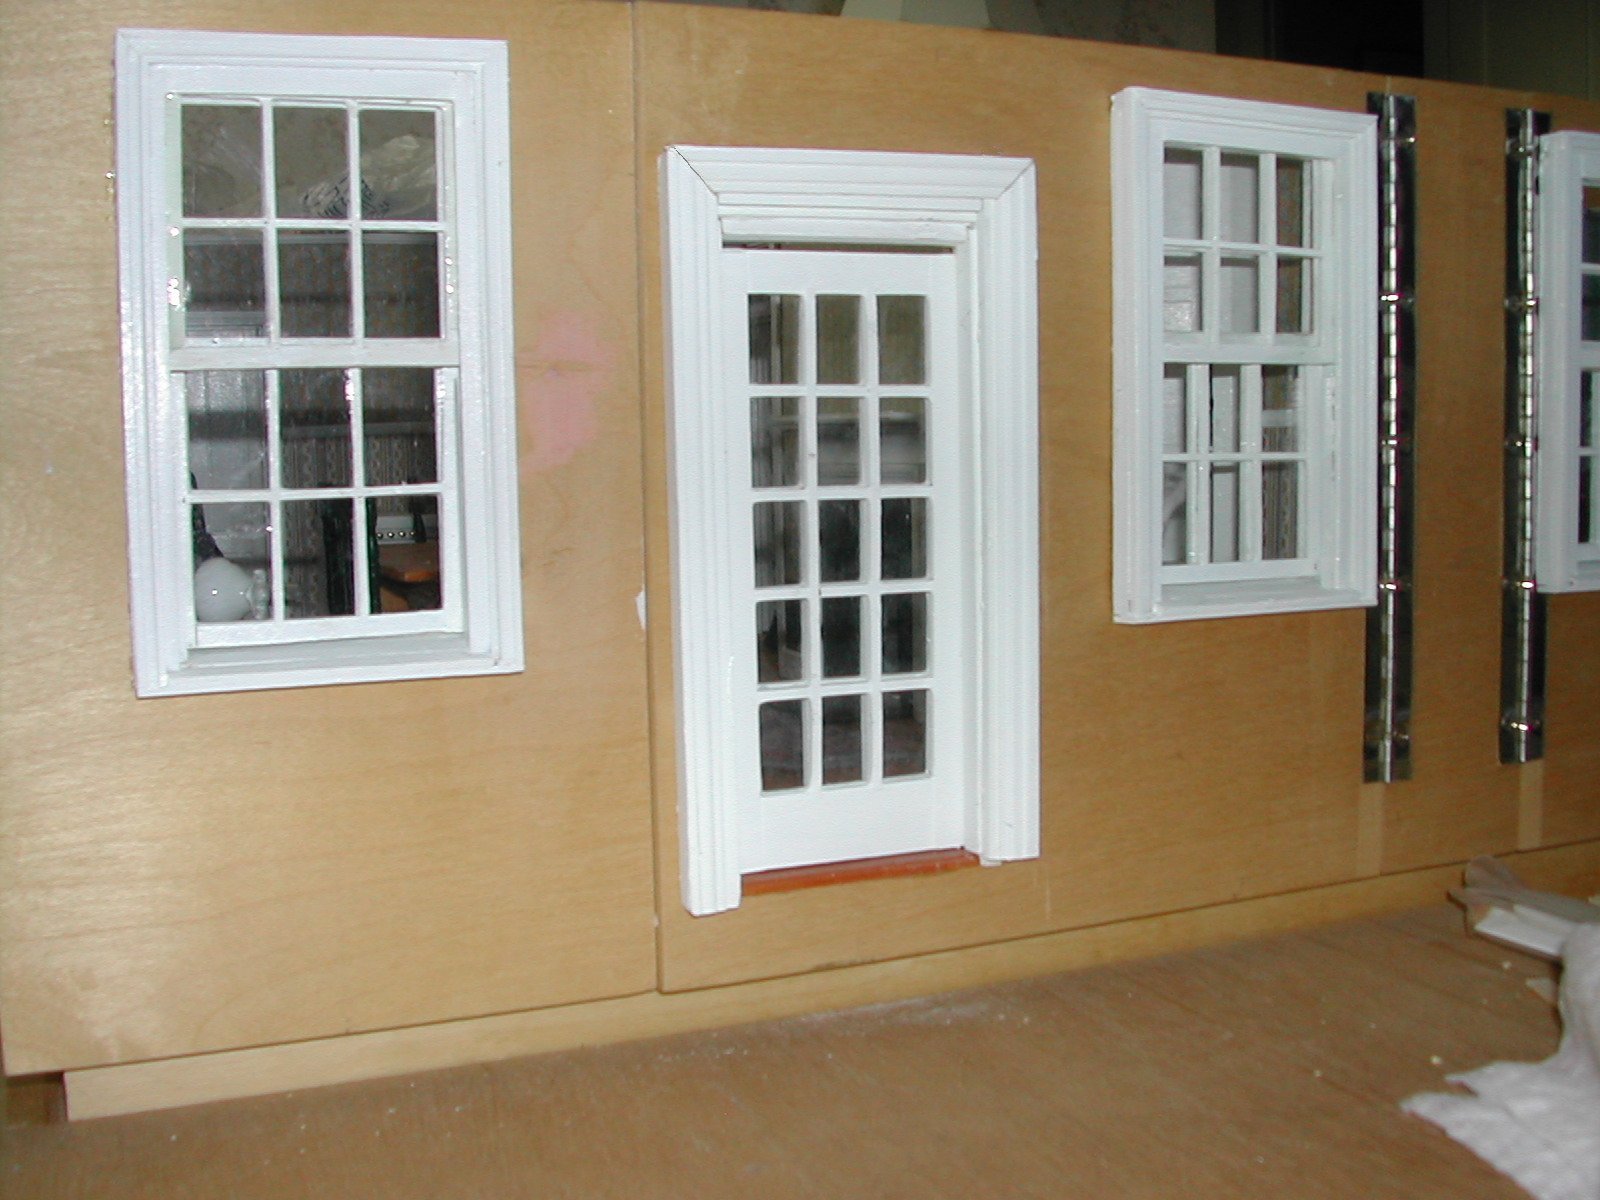
This is the exterior of the back
door in the kitchen. Note the piano hinges for the kitchen opening
panel and the one further to the right that opens the panel to the
dining room.
|
 |