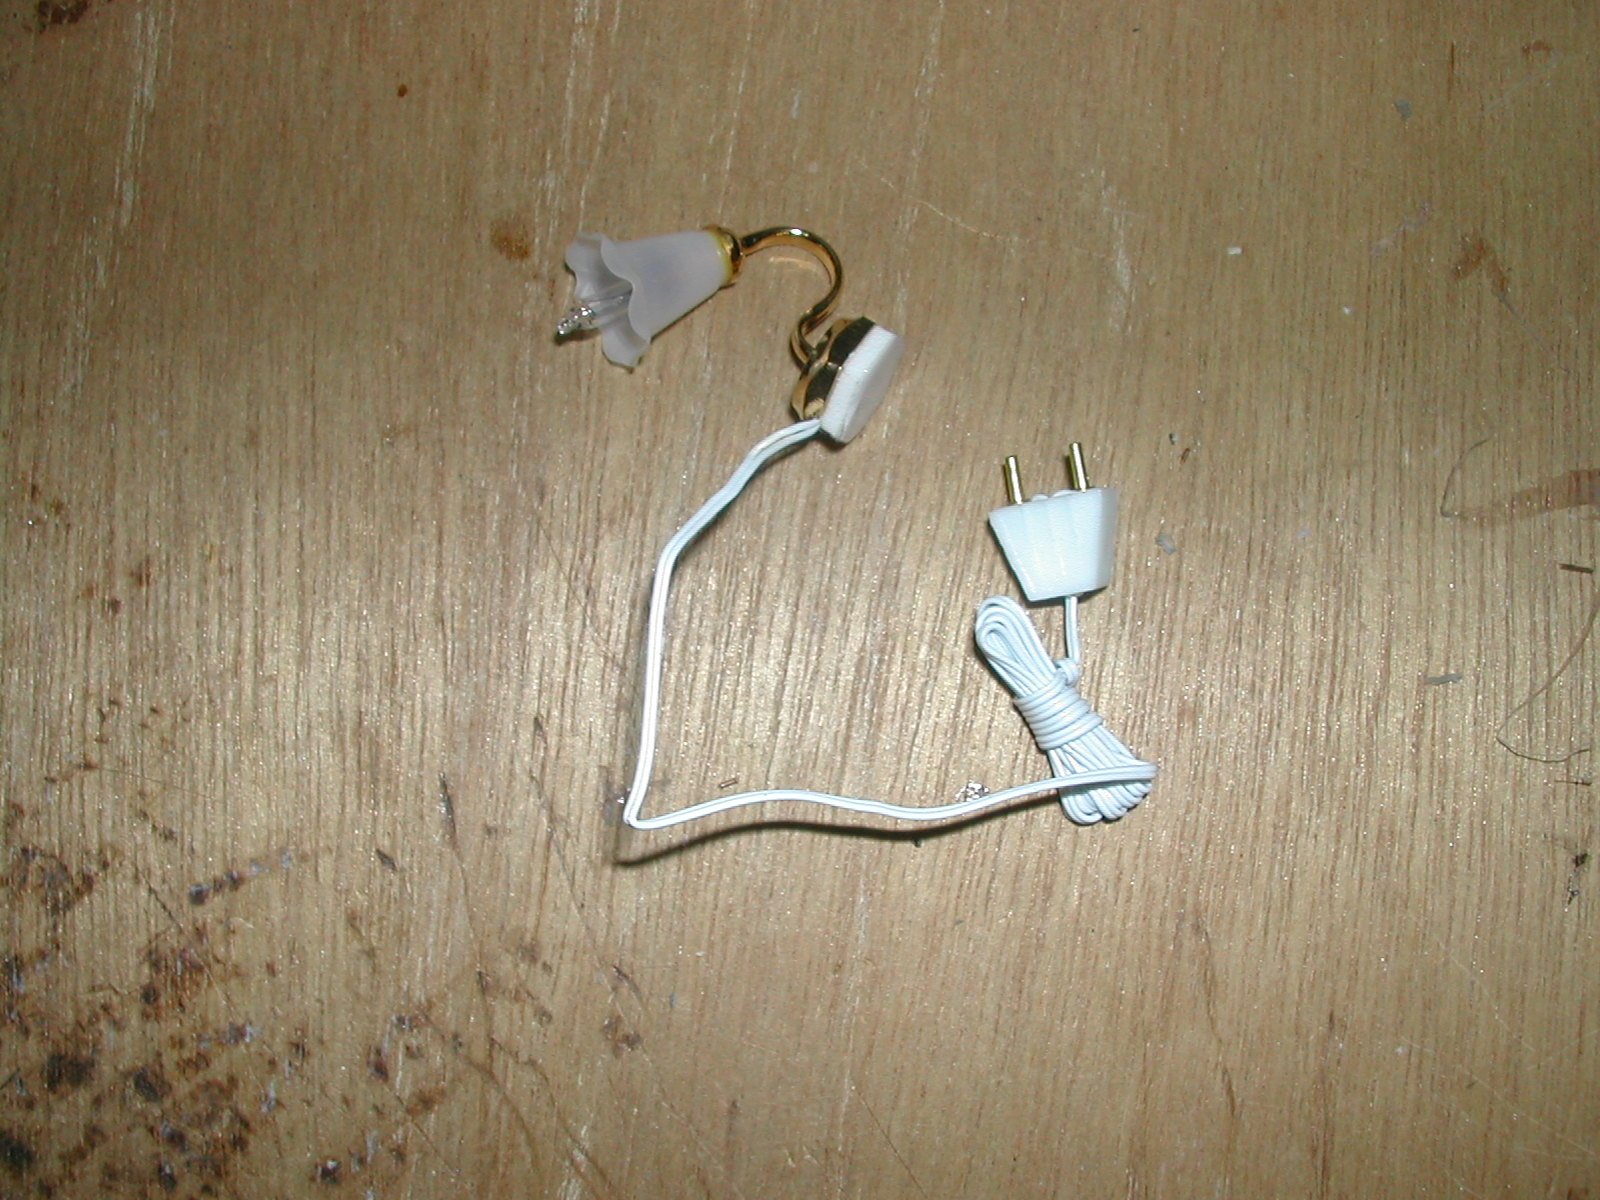
| The type of
sconce lights that can be bought today is shown in
the photograph to the right. Note that the plug is very large and
greatly out
of
scale. You will also see that it requires a wire hanging down a wall.
To avoid this, the first step
was to cut off the existing wires leaving only about an inch. In
addition, the
backing was also removed. This left sufficient space in the base of
the sconce to rewire it with a miniature plug. |
 |
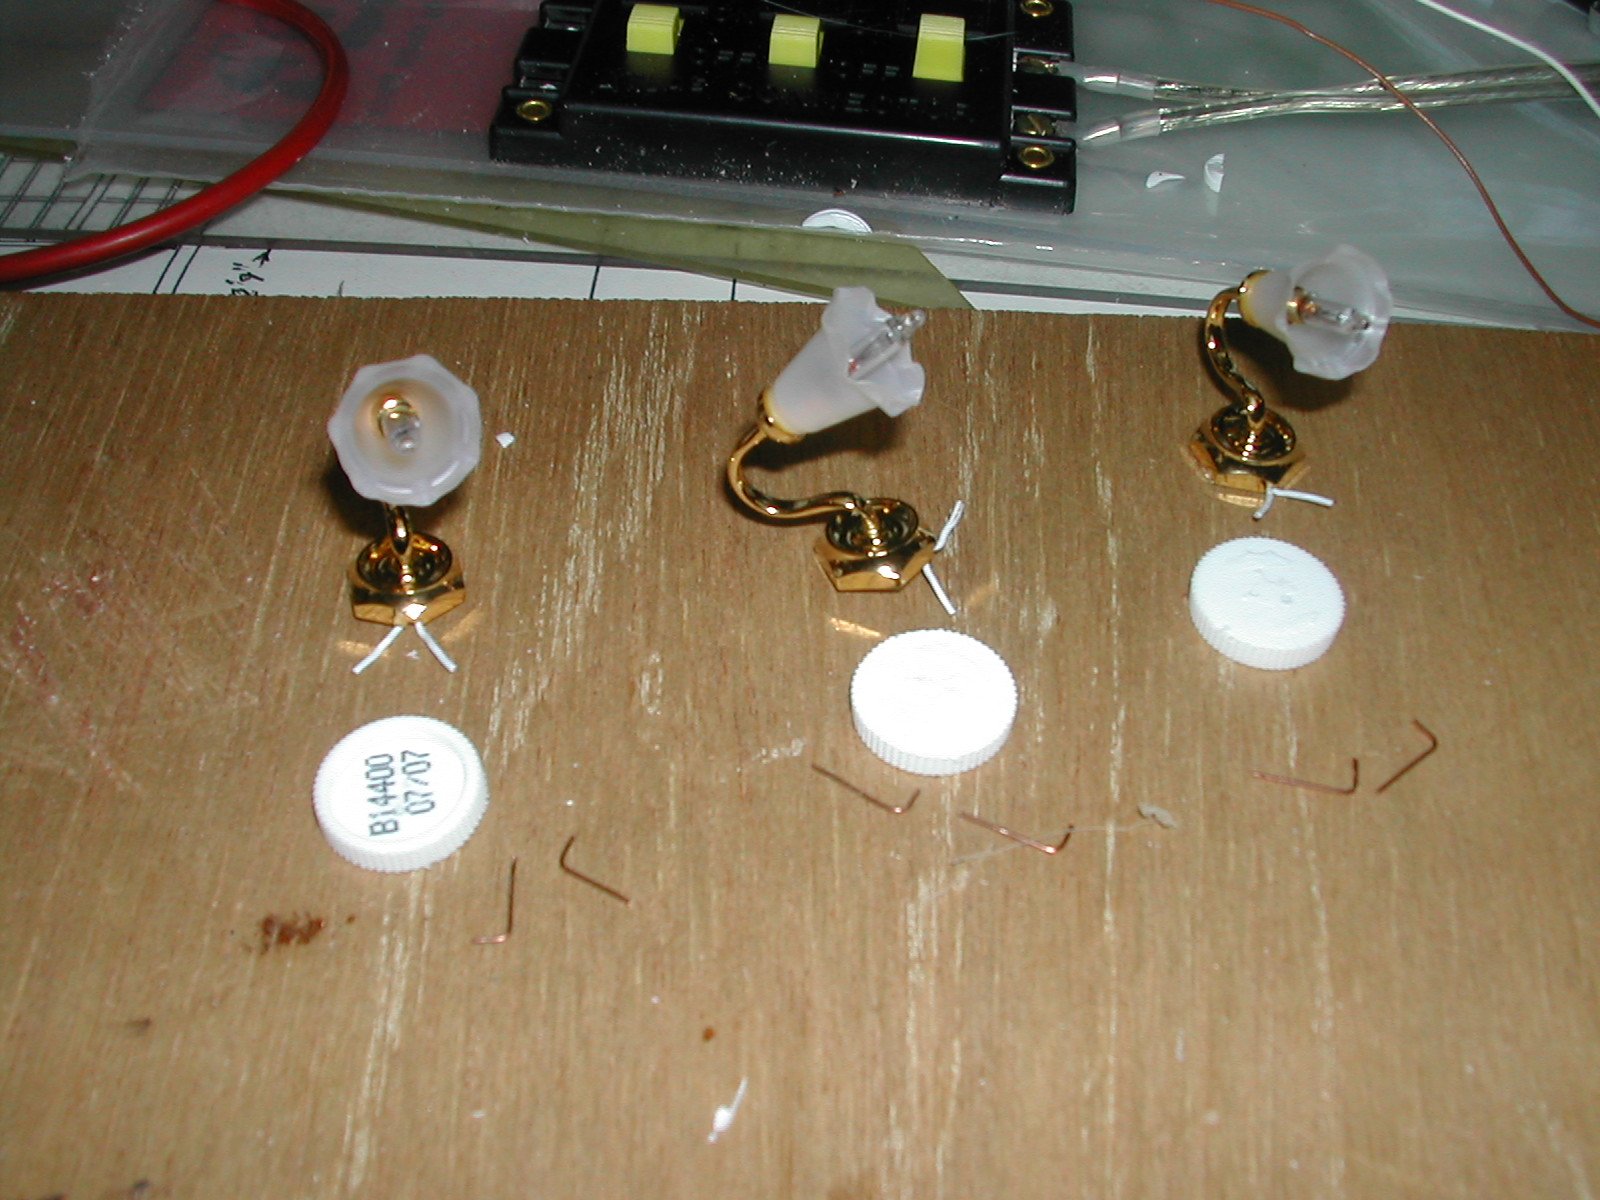
| A new base
was cut from a Chap Stick Lip Balm case retaining just the bottom
section that turns to advance the stick upwards through the tube.
The plug wires are made from 22 gage solid copper wire which just
fits firmly into the existing wall and ceiling electrical outlets.
The new base and the copper wires for the new plug, which have not yet
been
assembled, are shown on the photograph on the right. |
 |
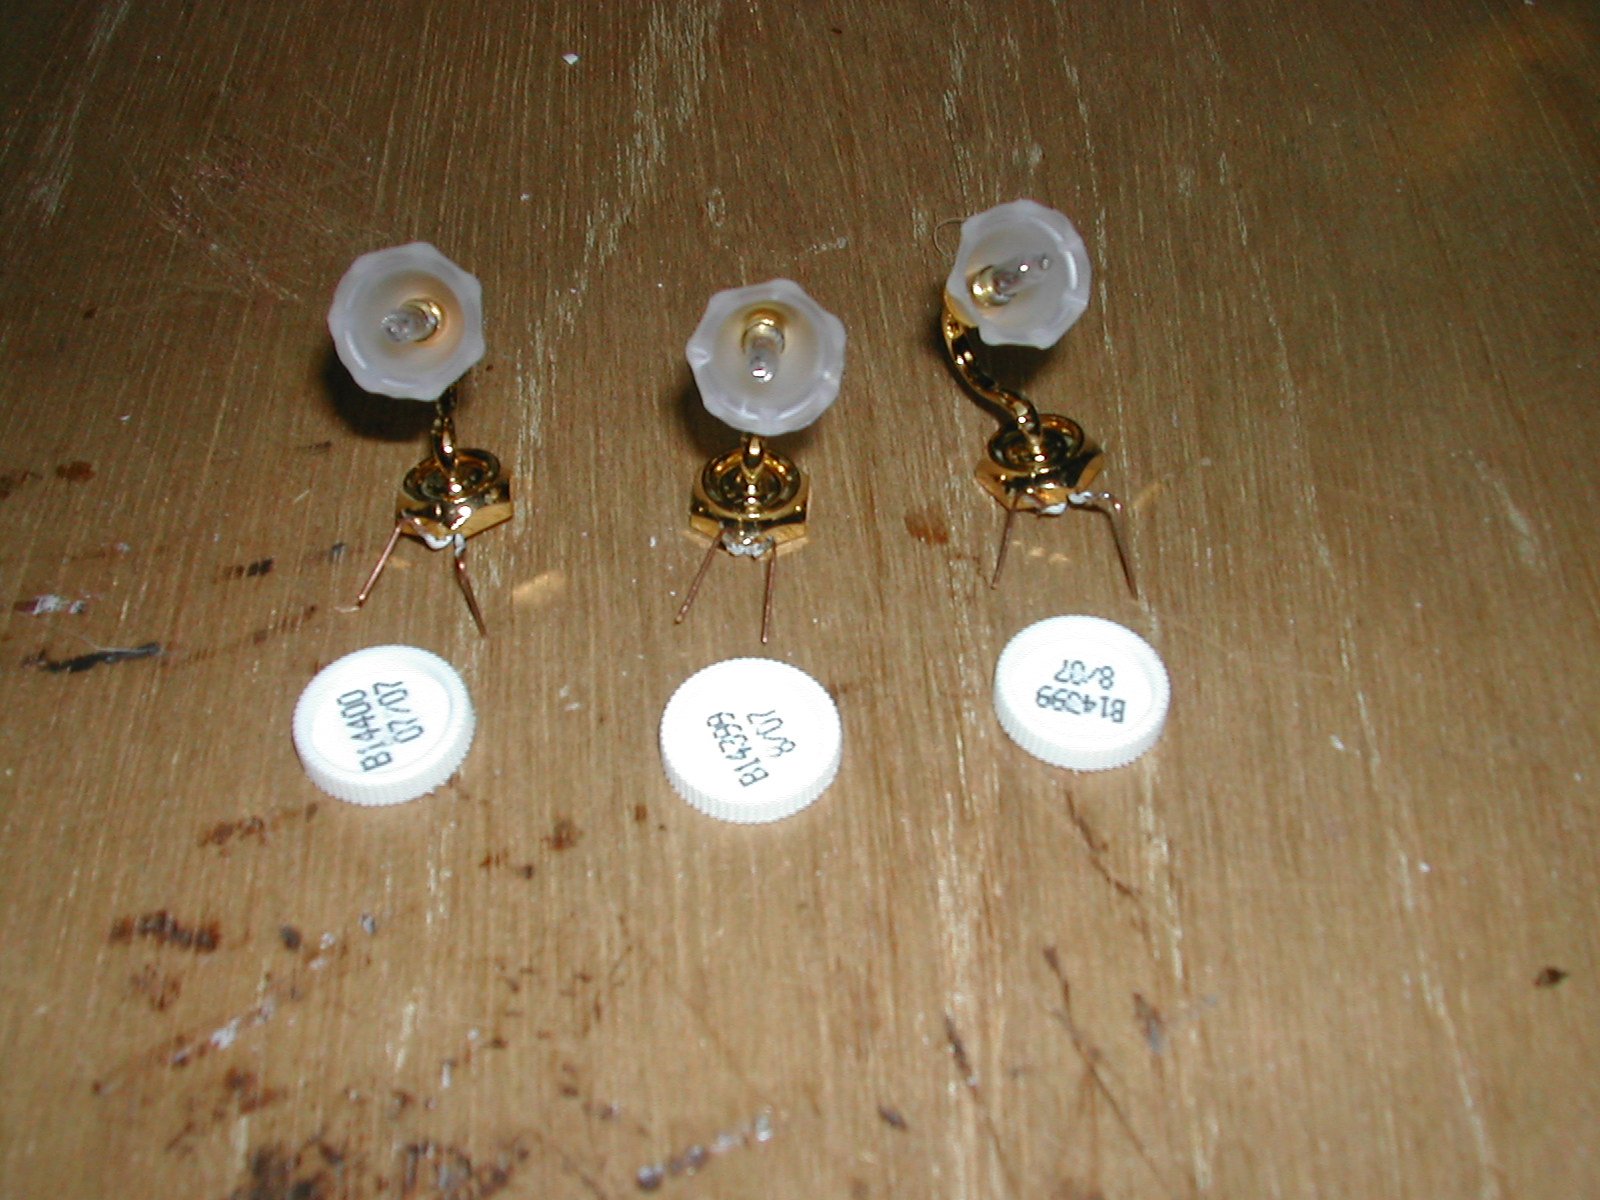
| Next the
copper wires are soldered on to the old wires as shown on the right.
Since the wires used in these lights are 22+ gage and consist of
multiple strands, the insulation can not be stripped in the normal
manner without damaging the fine wires. Instead the insulation was
removed by heating and melting it with a soldering iron. |
 |
| The next step
is to insulate the exposed soldered connection with liquid electrical
tape. Small holes are then drilled in the new base to match the spacing
on
the plug-in electrical outlets. The wires are then pressed into the new
base and held in place with five minute epoxy. |
 |
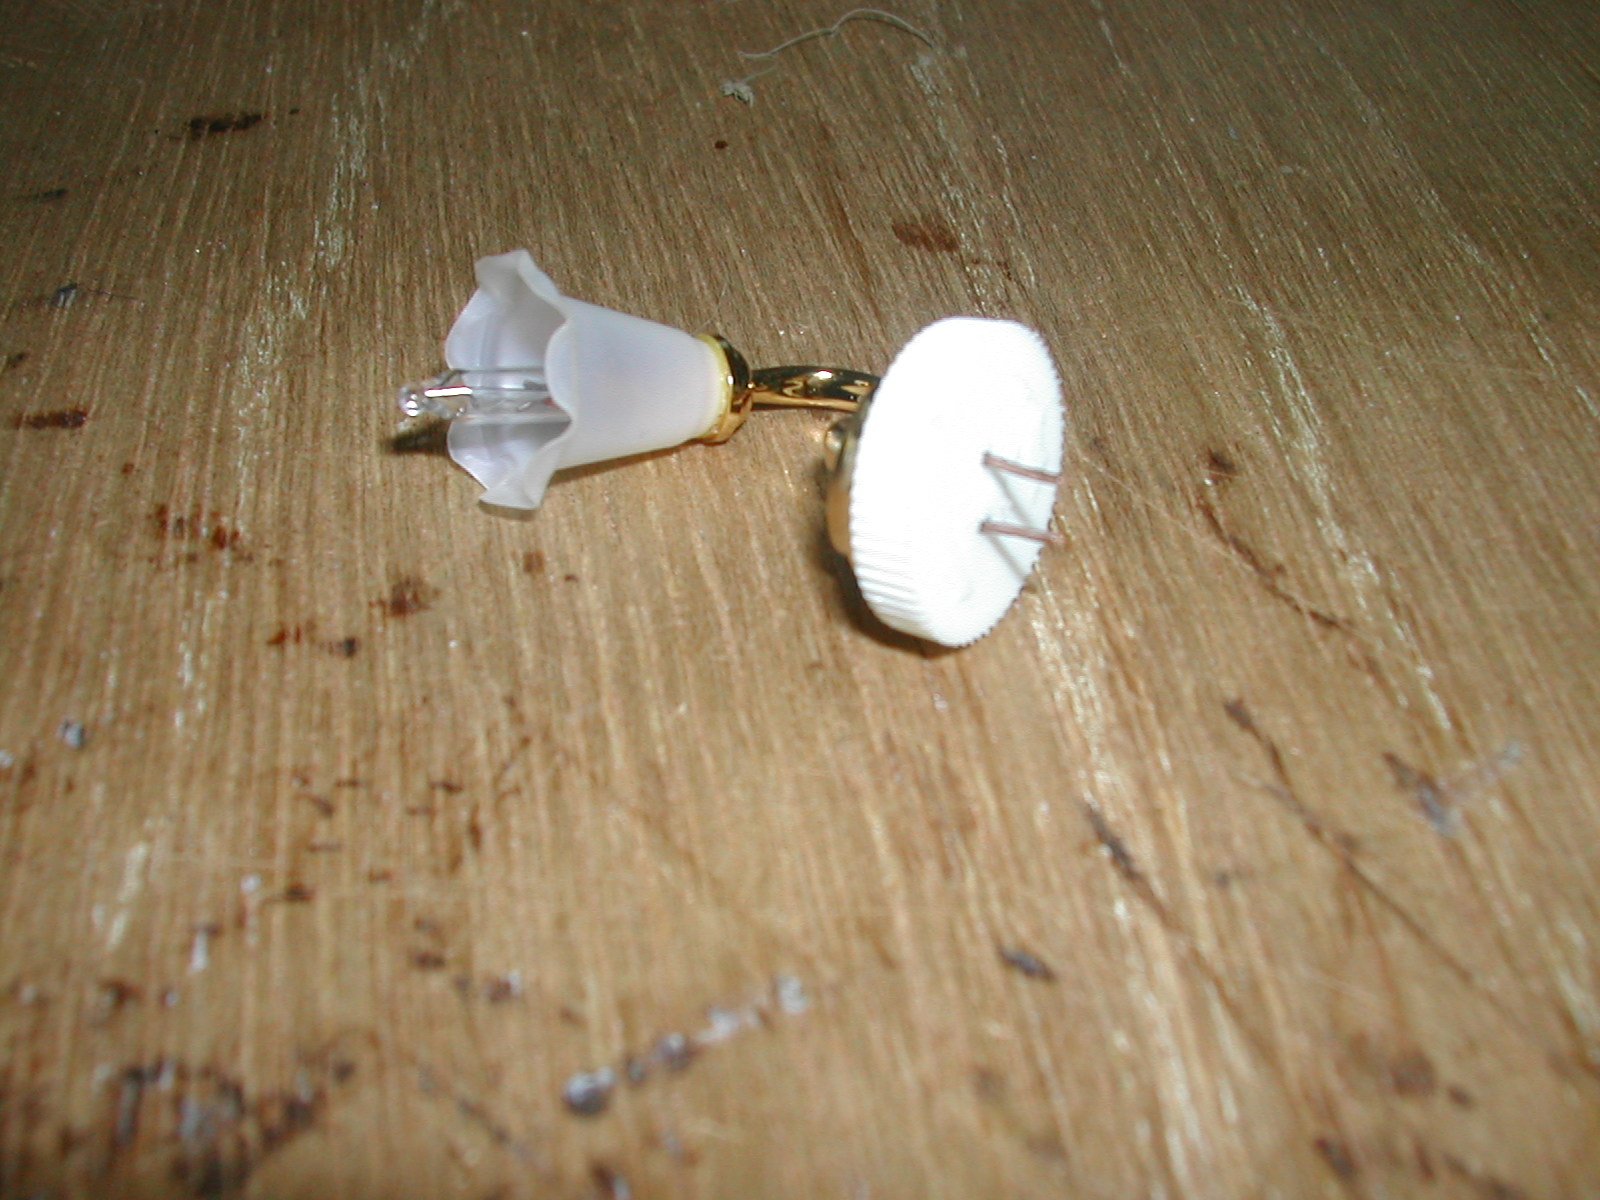
| The final
fully assembled sconce unit is shown in the photograph on the right.
The
epoxy not only holds the wires in place and insulates them, but
also bonds the plastic base to the old base of the sconce. |
 |
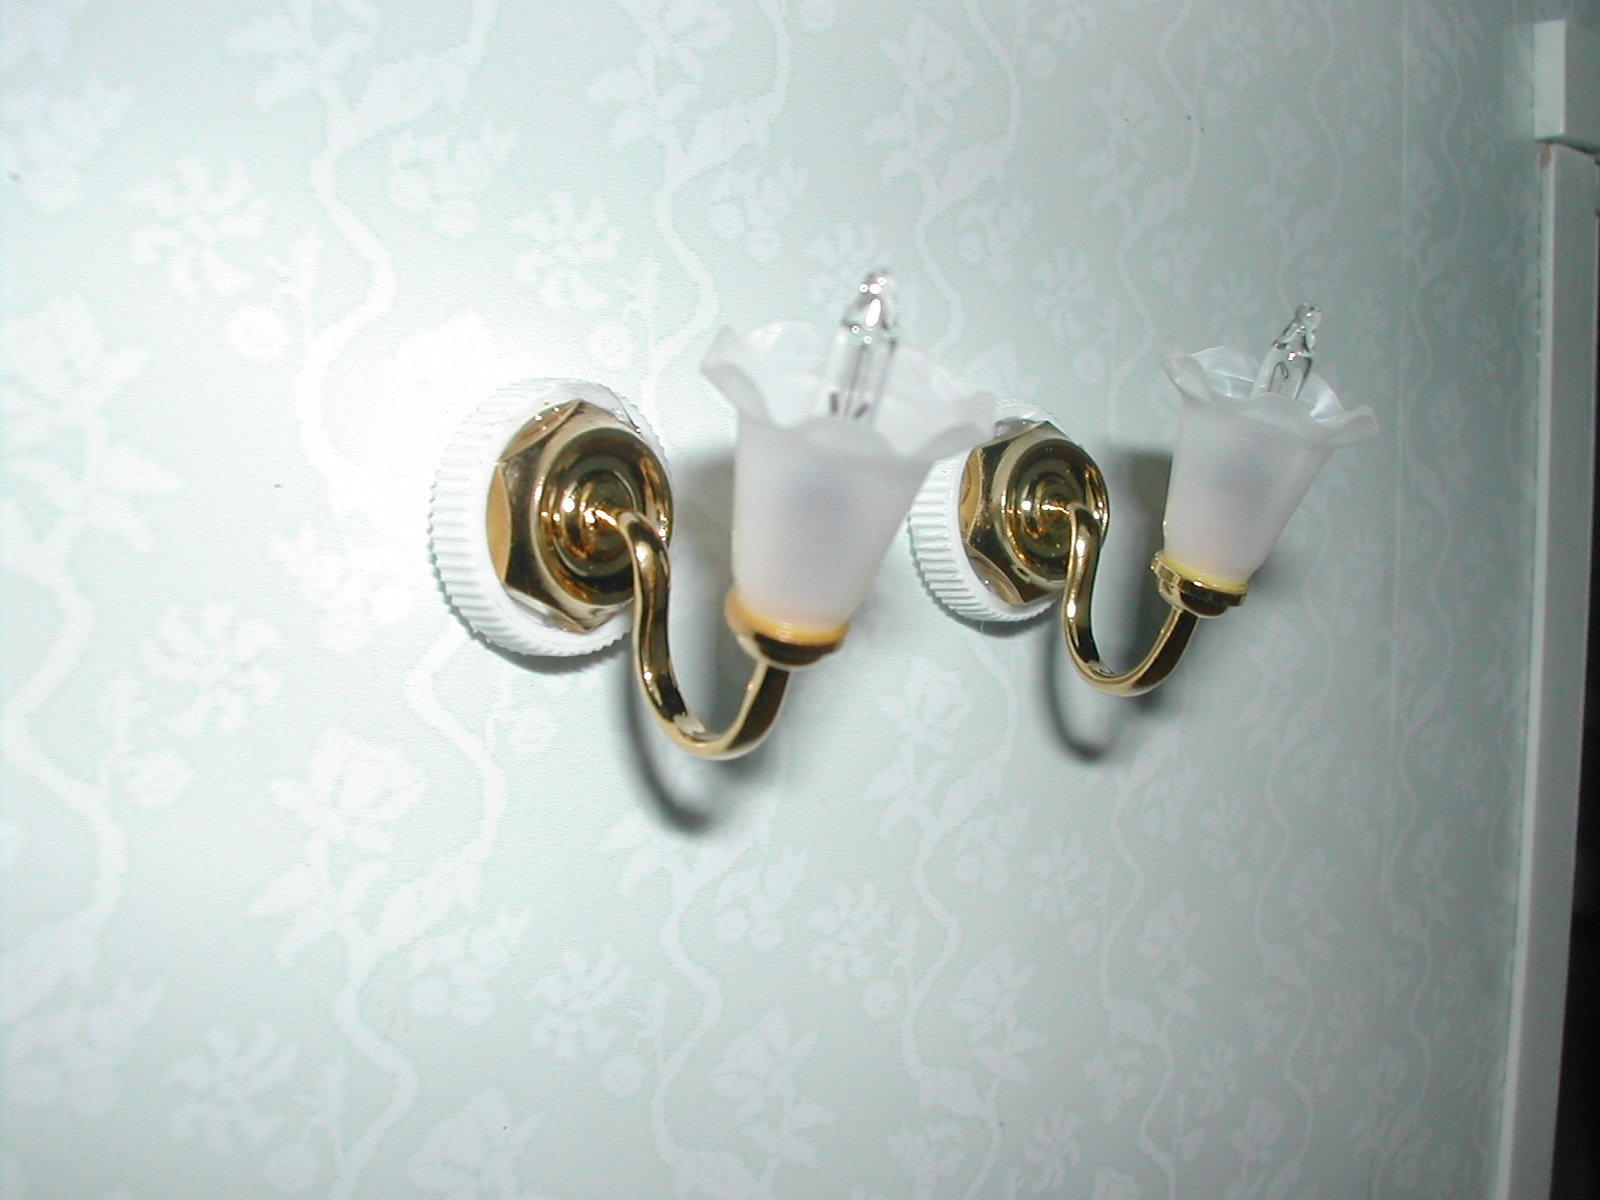
| This
photograph shows the sconces mounted on the wall in the hall opposite
the front door. If a bulb ever burns out it can now be easily replaced
by simply plugging in a new sconce light. |
 |
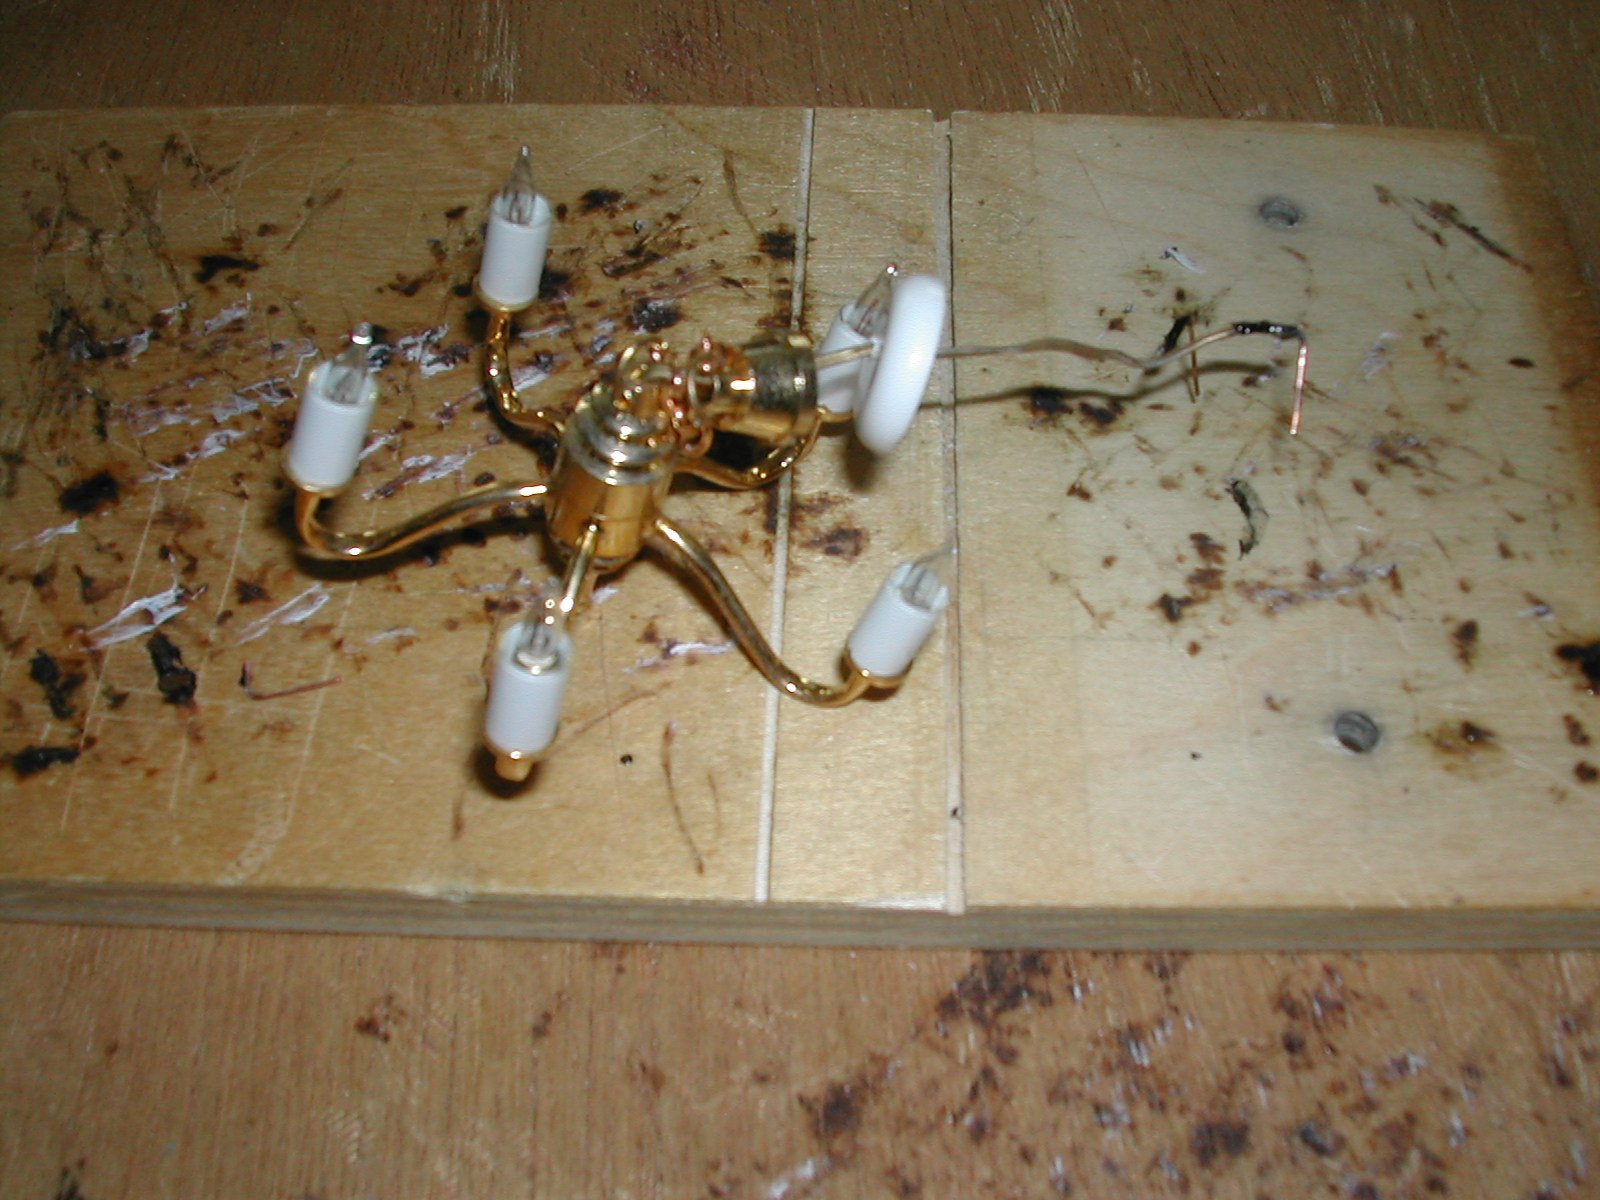
| This
photograph shows the partially rewired chandelier which hangs in the
dinning room. As before, the plastic base was made from the cap of a
lip balm
dispenser. The 22 gage solid copper wire has been soldered in place and
the exposed wire has been insulated with the liquid electrical tape. |
 |
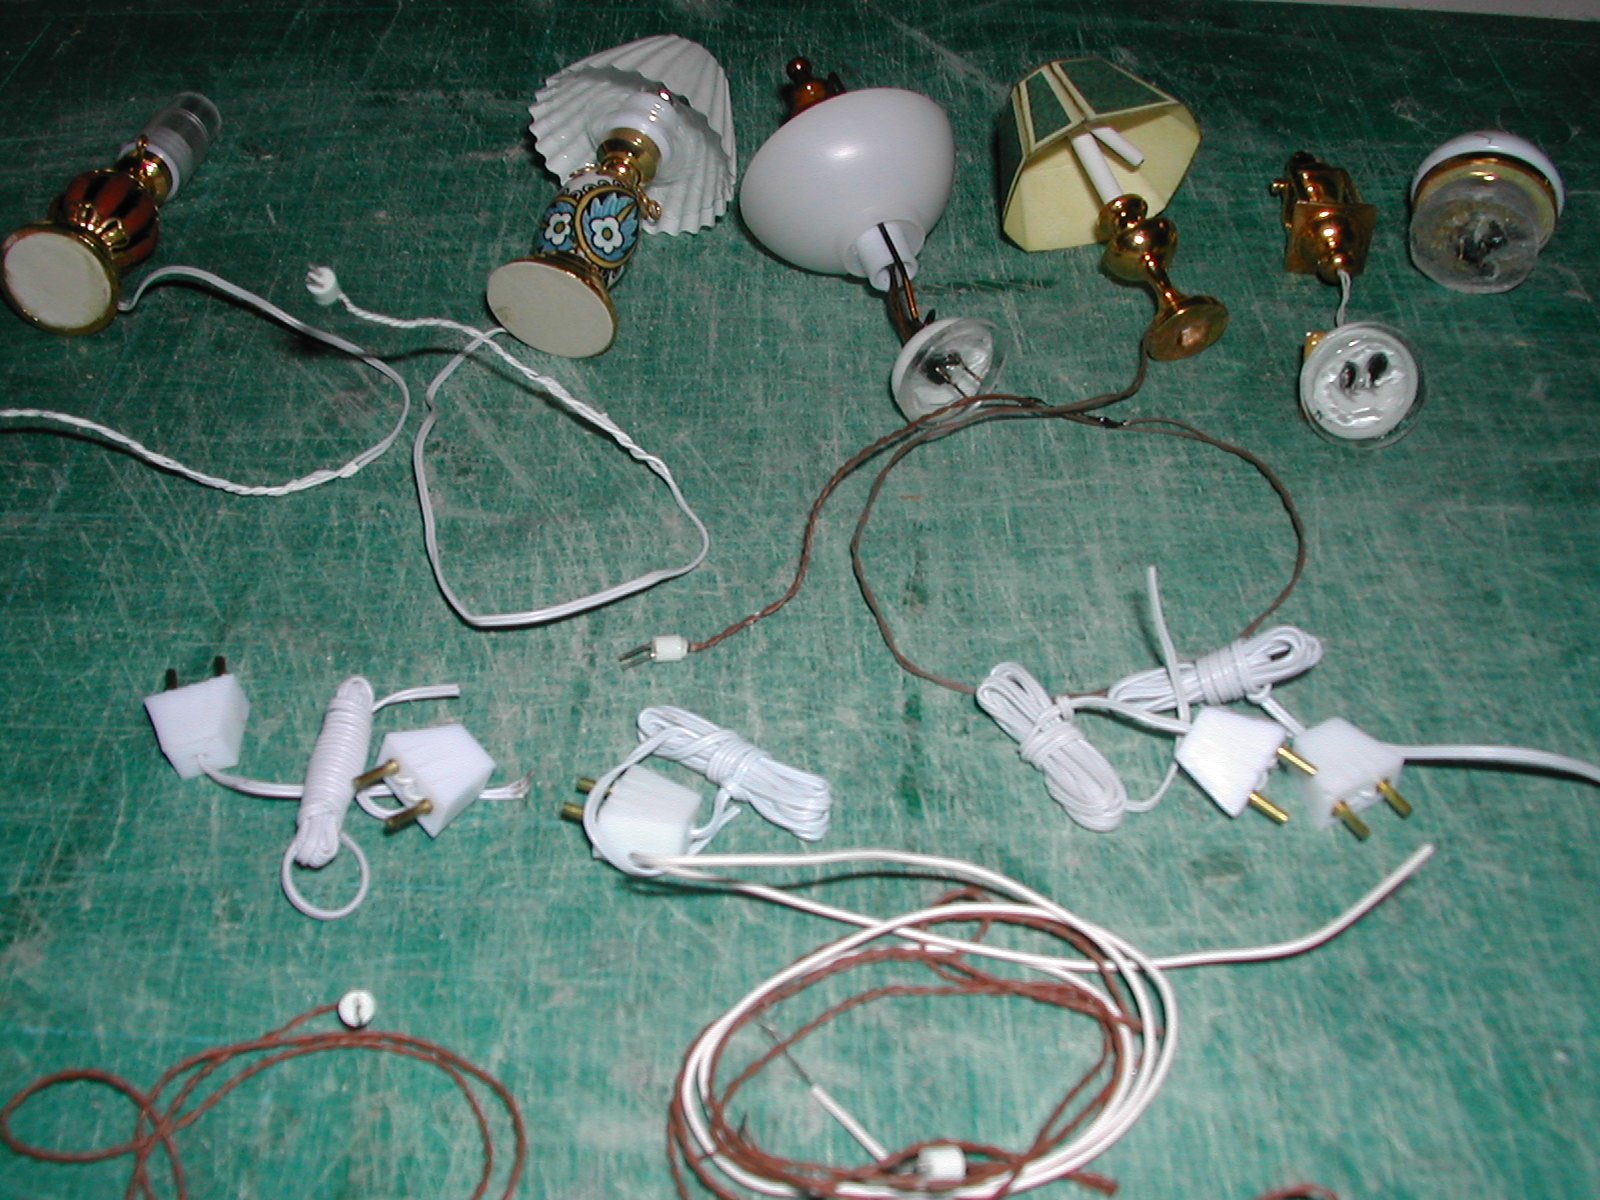
| This
photograph shows some of the many table lamps and hanging ceiling
fixtures that needed to be rewired. The hanging fixtures were designed
to be plugged into the ceiling sockets. This allows for the changing of
fixtures and of light bulbs as they get worn out or malfunction.
Note the size of the new plugs attached to the lamps compared with the
ones sitting on the cutting board. The original plugs were wildly out
of scale. They would have measured five inches in width if they
had been
scaled up for a full size house. They were one of the oddities we
kept discovering in dollhouse supplies offered commercially and the
reason we had to replace, modify or build so many things that went into
this project. |
 |
| A slightly different view of the same lamps is shown on the right where the bases can be examined and the unfortunate size of the original plugs better observed. |
 |