The
thirty-two
paintings in the house were first photographed with a digital camera.
This was the most difficult part of the process because most of the
paintings
are under glass and had to be shielded from any
glare
from the windows. In addition, the paintings had to be photographed
without using the
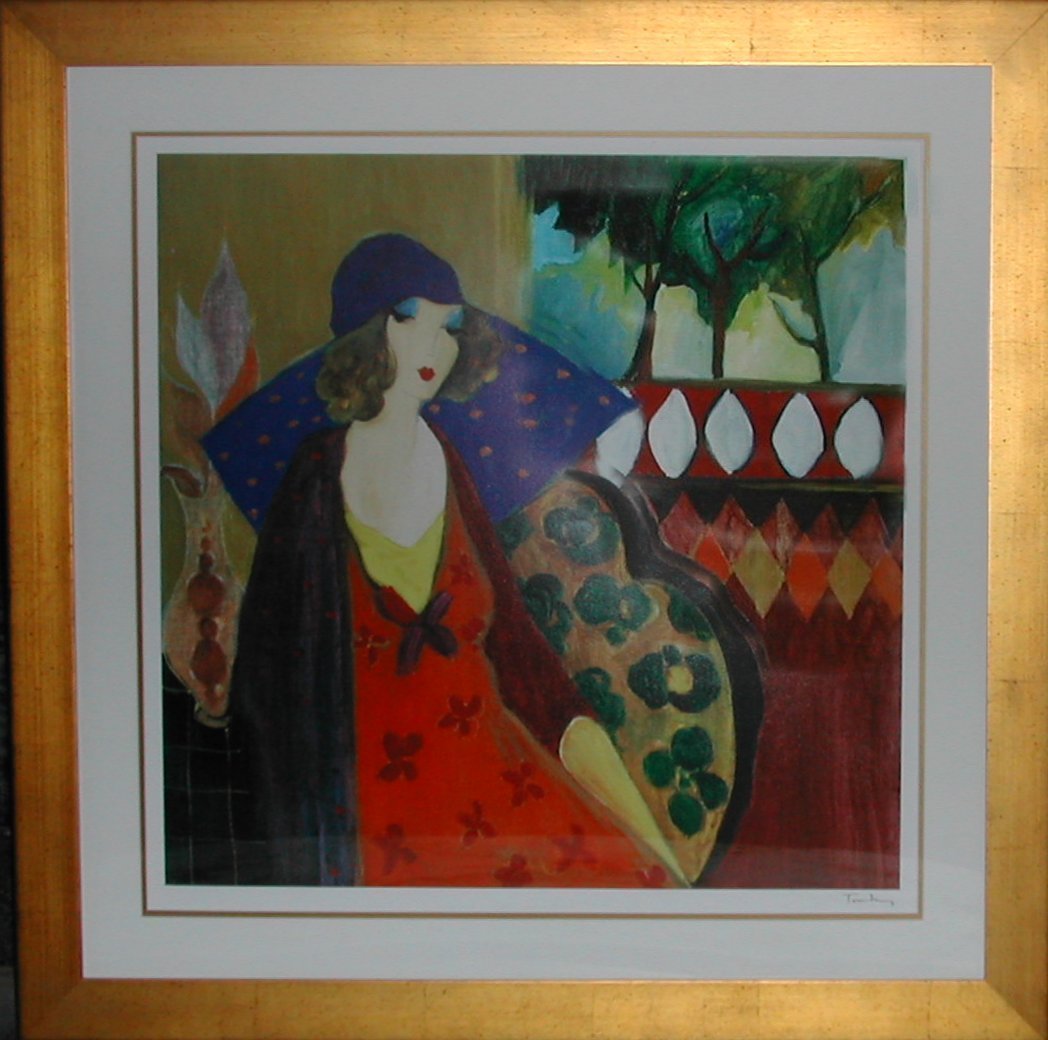
flash. The first step in this process is shown on the right where
a Itzchak Tarkay painting is shown. The photograph is not quite aligned
and this has to be corrected in the next step.
|
 |
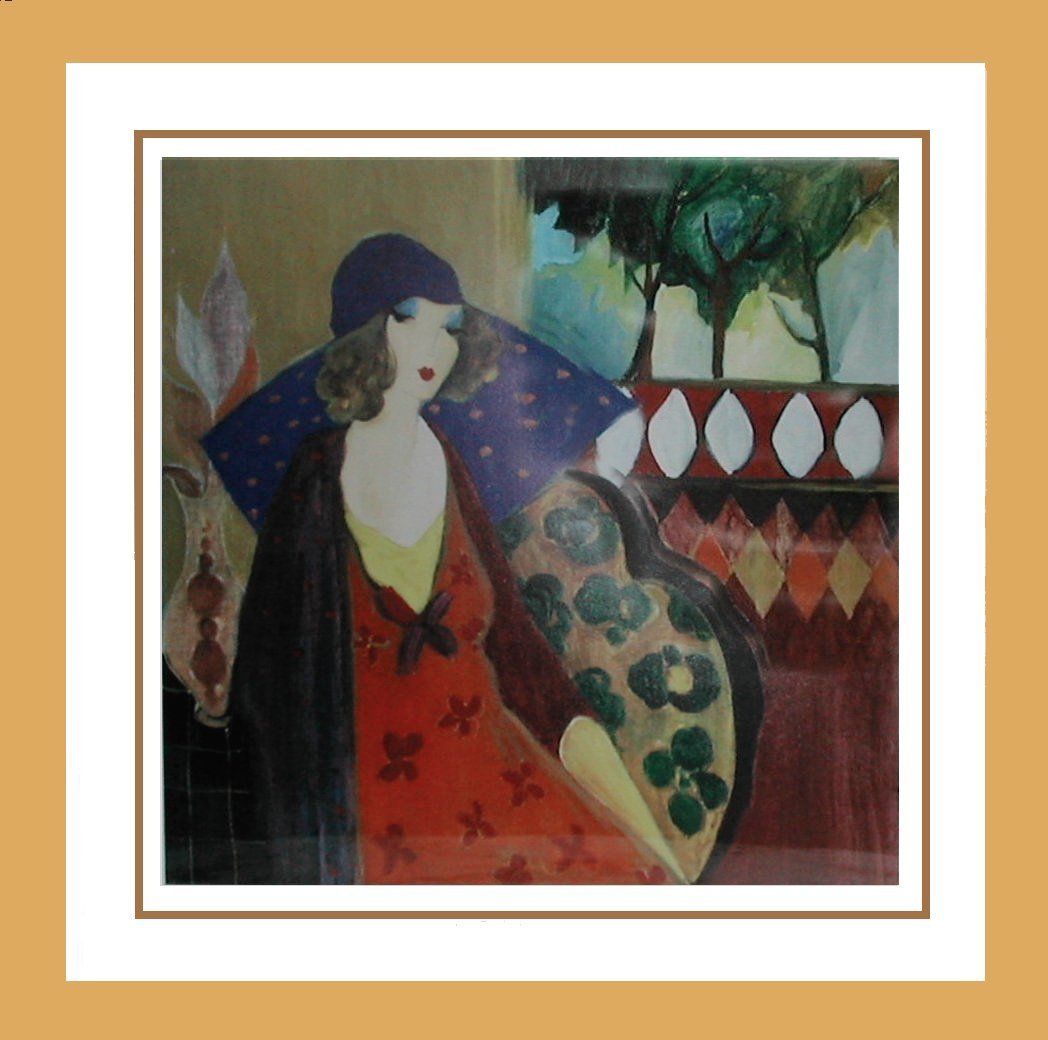
The second
step was aligning the photograph, replacing both the frame and the
matting with
a uniform color.
|
 |
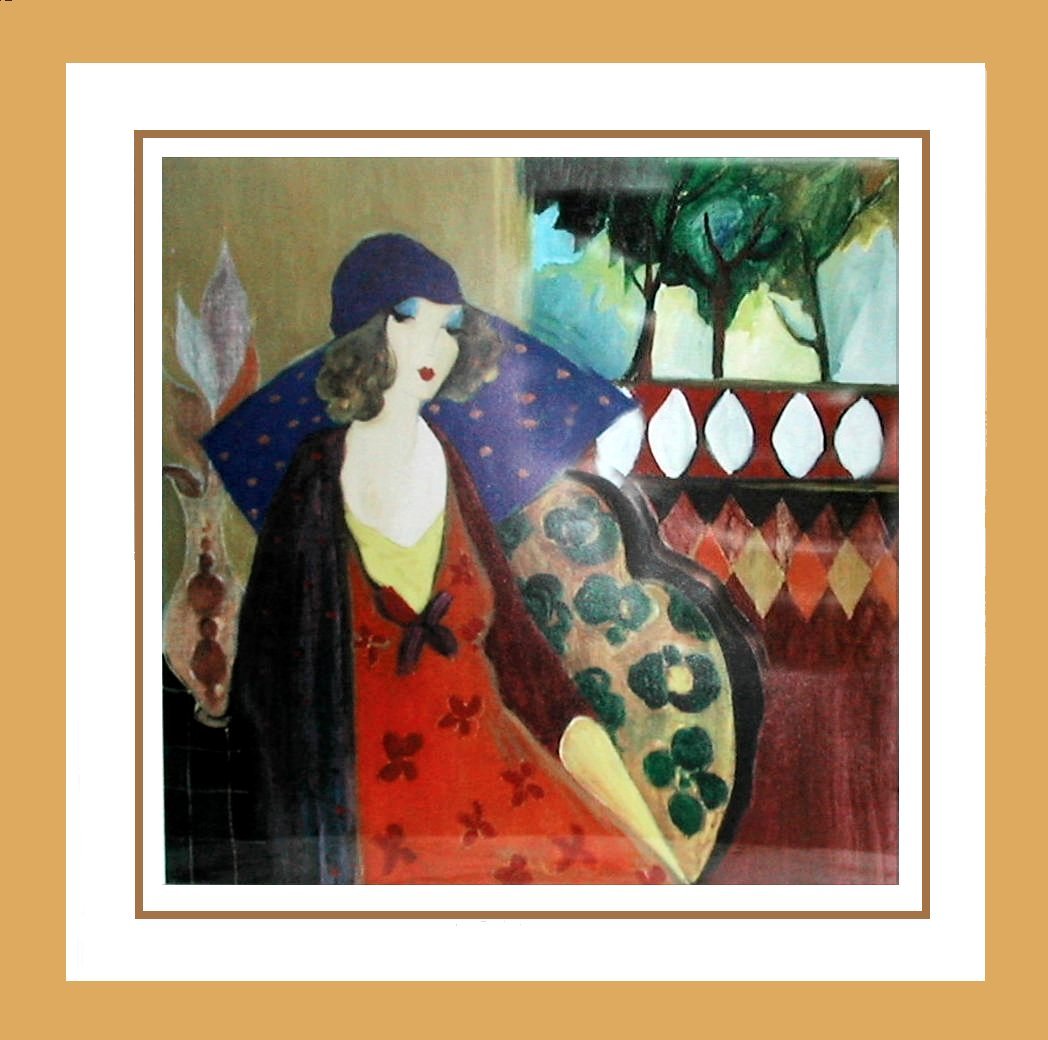
Finally the
photograph of the painting was sharpened and given better color and
contrast, as shown. The photograph was then printed to scale on high
gloss high resolution photographic paper. It was then cut and glued to
a
wooden back made from 1/16" maple and, using
an ordinary glue stick. A laminating sheet
was then pressed over the
painting to imitate glass and the frame, which was created from
wood and painted to look like the full size frame was attached with
Duco
cement.
|
 |
Here
the painting can be seen placed on the wall using Staples brand
double sided mounting squares in each corner. For the heavier and
larger paintings, more than four mounting squares were used.
Smaller and lighter pictures needed only two.
|
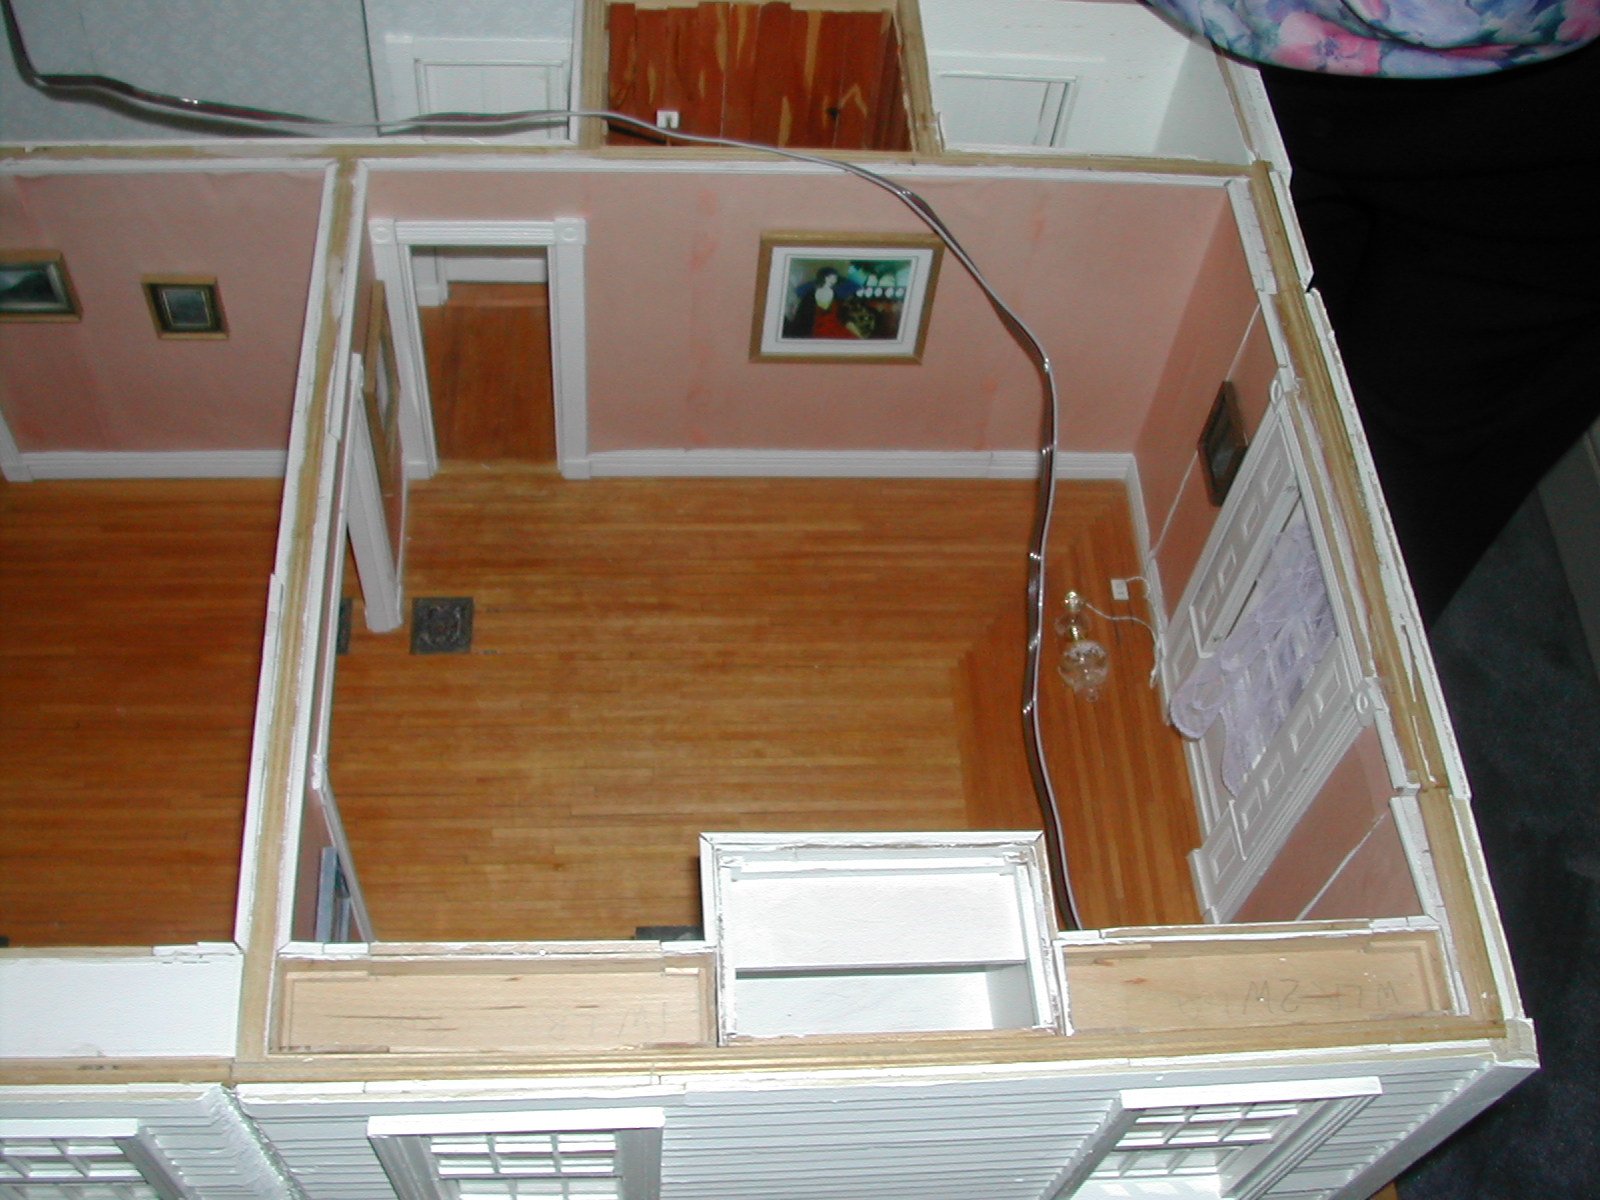 |
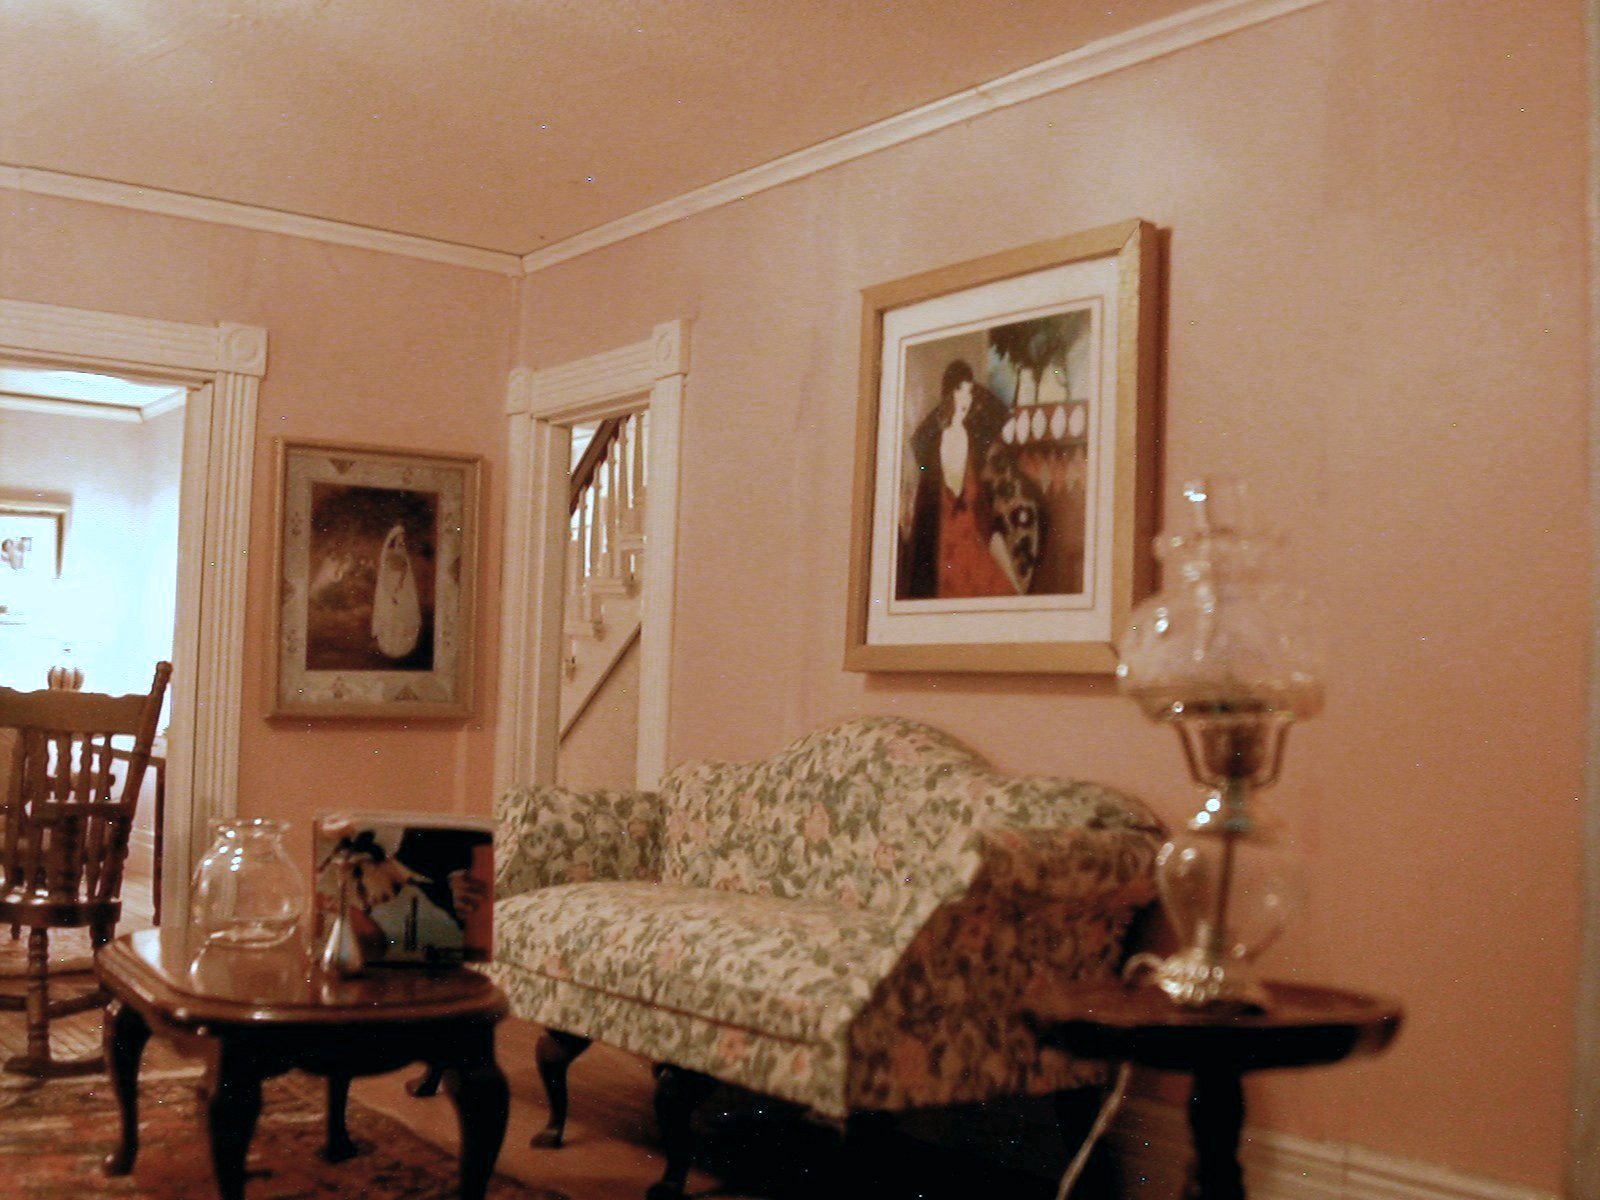
Finally,
the finished product can be seen over the couch along with an
Indian print shown on the wall next to the door leading to the hall.
|
 |