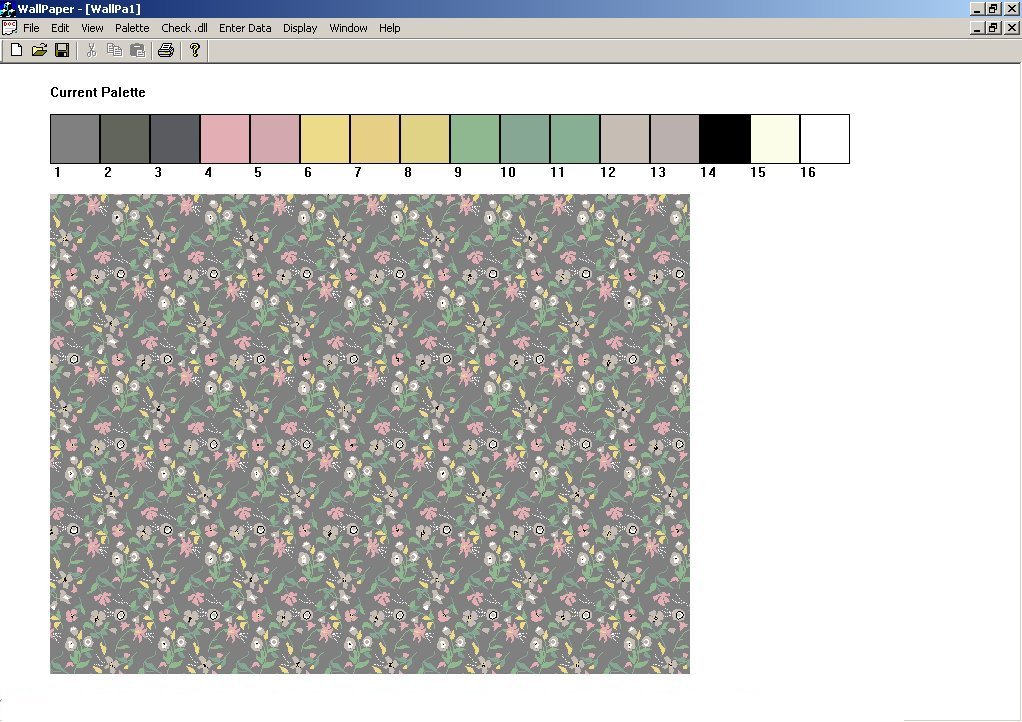
| This is the pattern of the second story bathroom wallpaper with the stripes laying horizontally although the paper is hung so that the design is vertical. It shows the color scale created for this particular paper. Each of the colors at the top appears in at least one numbered "curve" of the pattern. It is a good example because it allows you to see the assortment of colors, each matched with the original paper and each arrived at through many tests until perfection was reached. It is not always the case that the color on your computer screen is the same as what the printer prints out. Usually that is not an issue, if you are making a birthday card, for example, the shade of a color is not of great importance. But the shade printed is extremely important when trying to give the same effect that a particular wallpaper provides in a room. Needless to say, in all cases the intricate design had to be simplified for the miniature but in all cases the basic designs and colors are true. | 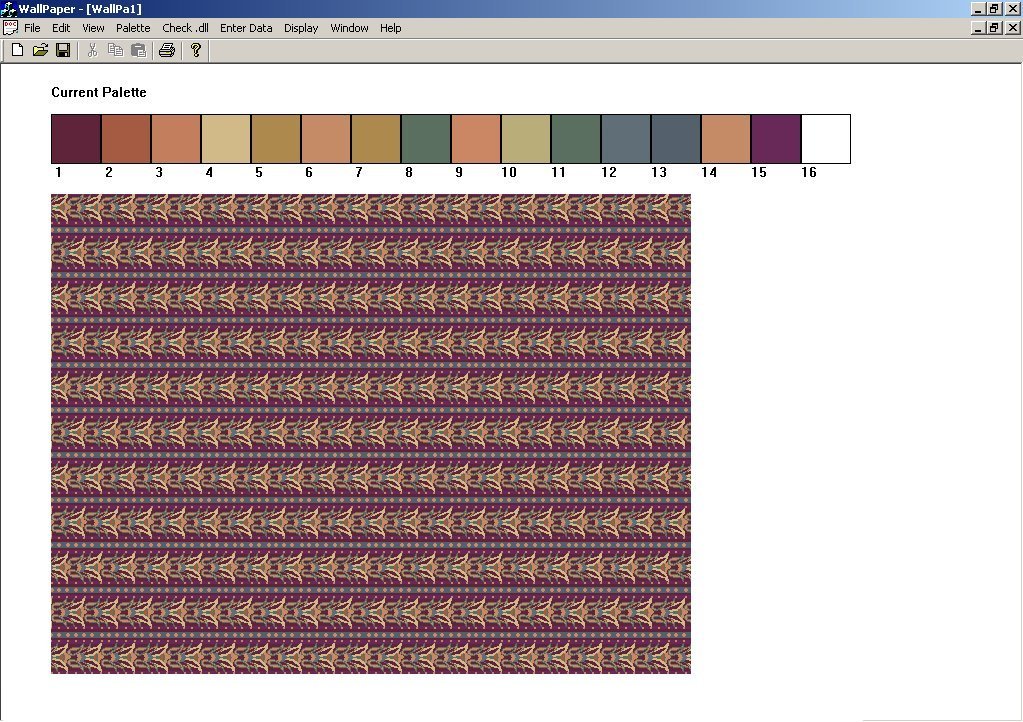 |
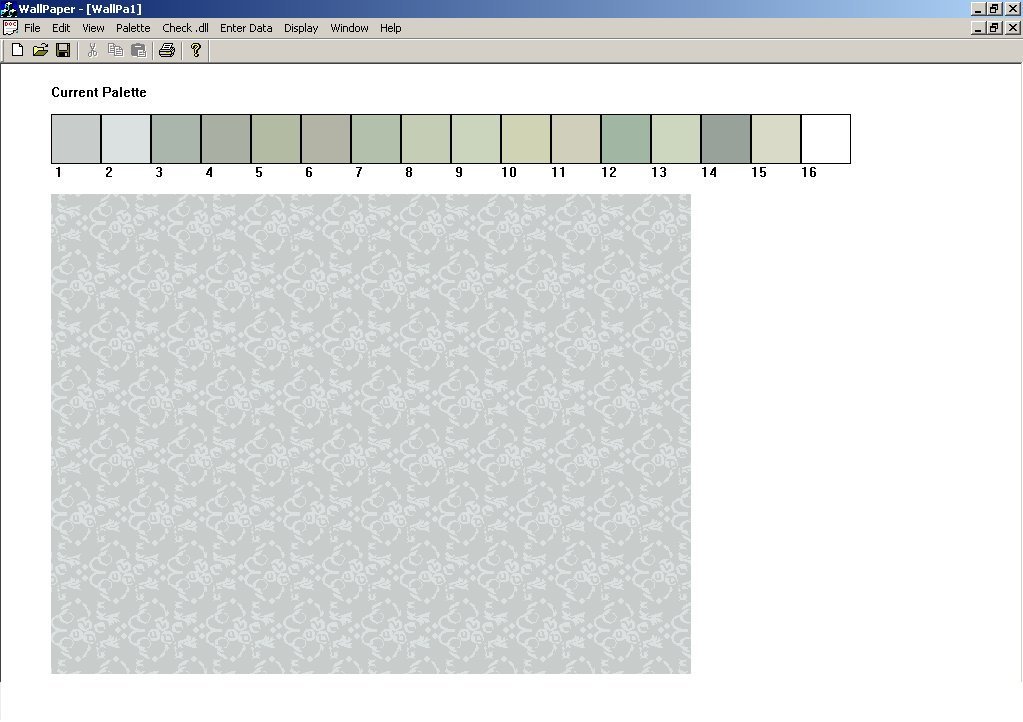
| The dining room paper is a very subtle design and color so we worked it using a very slightly different shades of the same basic color. You can see the pattern better if you enlarge the photograph. Only two of the colors from this palette were actually used. |
 |
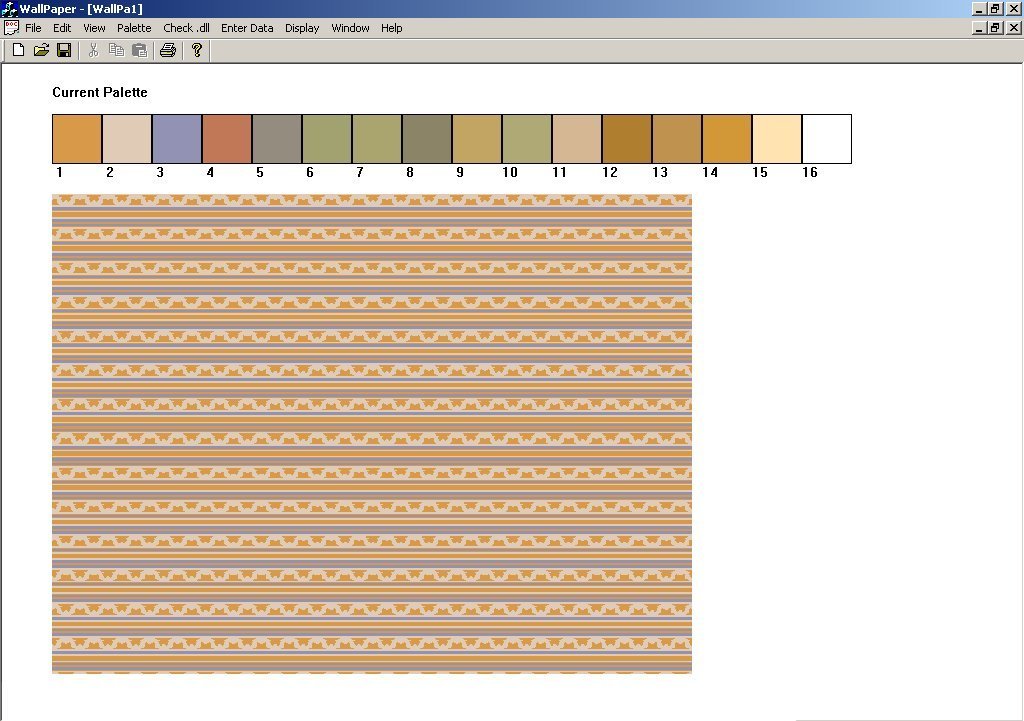
| The kitchen has two complimentary
designs with the same color palette. The photograph to the right is of
the paper used below the chair rail. There is a matching color pattern
of the same elements but not in stripes on the upper portion. In
addition, there is a vertical band of matching border paper
around the top just under the crown molding. (Like the bathroom paper, the stripes, when hung, are vertical.) |
 |
| As you can see, the top
portion of the kitchen wallpaper uses colors from the palette for the
bottom part with a few extra shades of colors added to increase the
accuracy of the design which is more complicated than the design of the
bottom half. |
 |
| The downstairs bathroom has painted
wainscoting on the bottom half and wallpaper on the upper section. This
room will be "frozen in time," so to speak, because the full size house
restoration project had not as yet reached this room when the
miniature was created. The wallpaper and the color of the wainscoting
will change when this area of the house is completed. |
 |
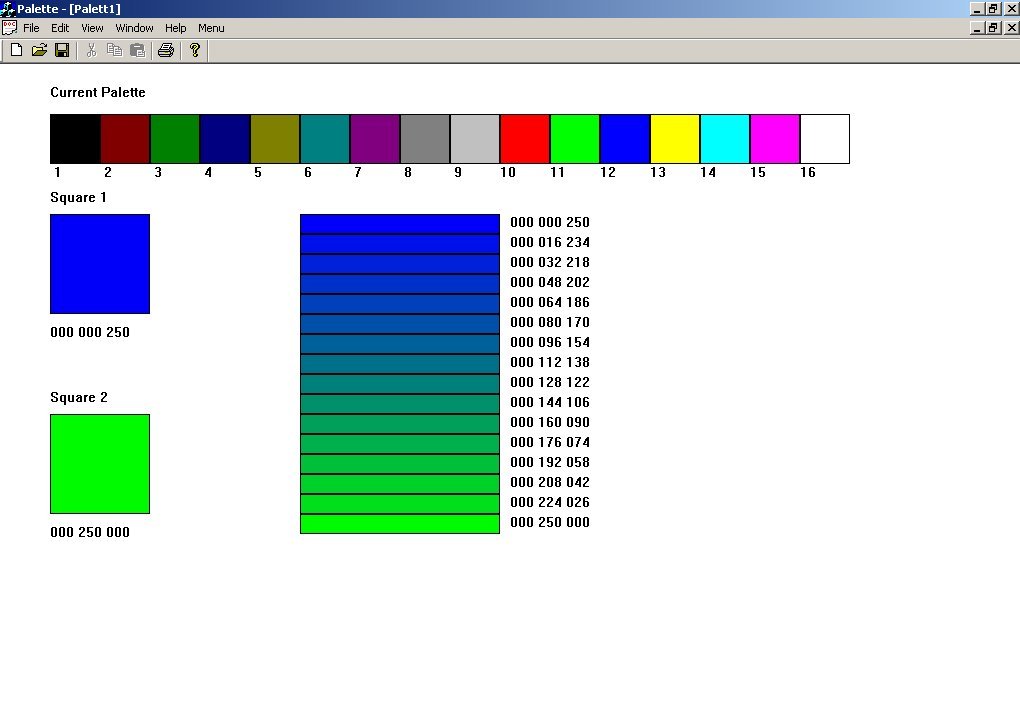
| This is an example of the color
trending program. In this example we trended from blue to green. But
the program can trend between dark and light shades of any color so
that you can get the intermediary shades in-between. As there are more
than 16 million colors you can mix, it is easy to see how you can
manage to get any shade of any color you want. The numbers to the right
of the each shade provide the numeric formula you need to use to create
that particular shade. The number values are listed as red, green and
blue in each
case. |
 |
| This picture shows the priming of
the walls, preparing them for wallpapering. It is important to paint
the walls white (here you are seeing only the first coat) so that the
wood color does not show through the paper, distorting the colors of
the wall- paper. |
 |
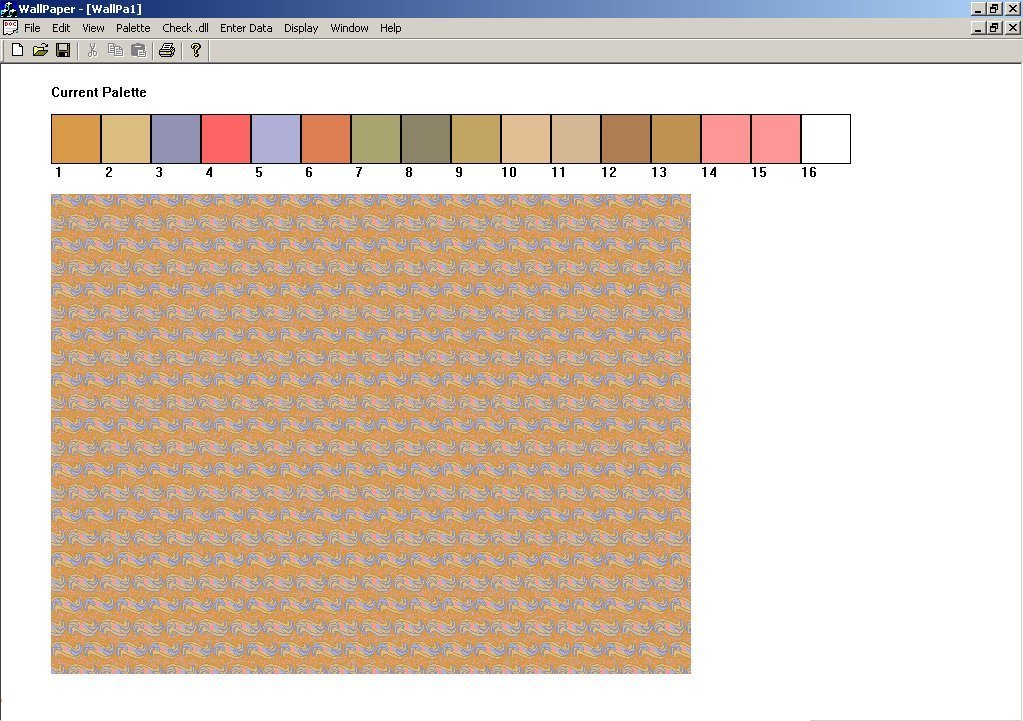
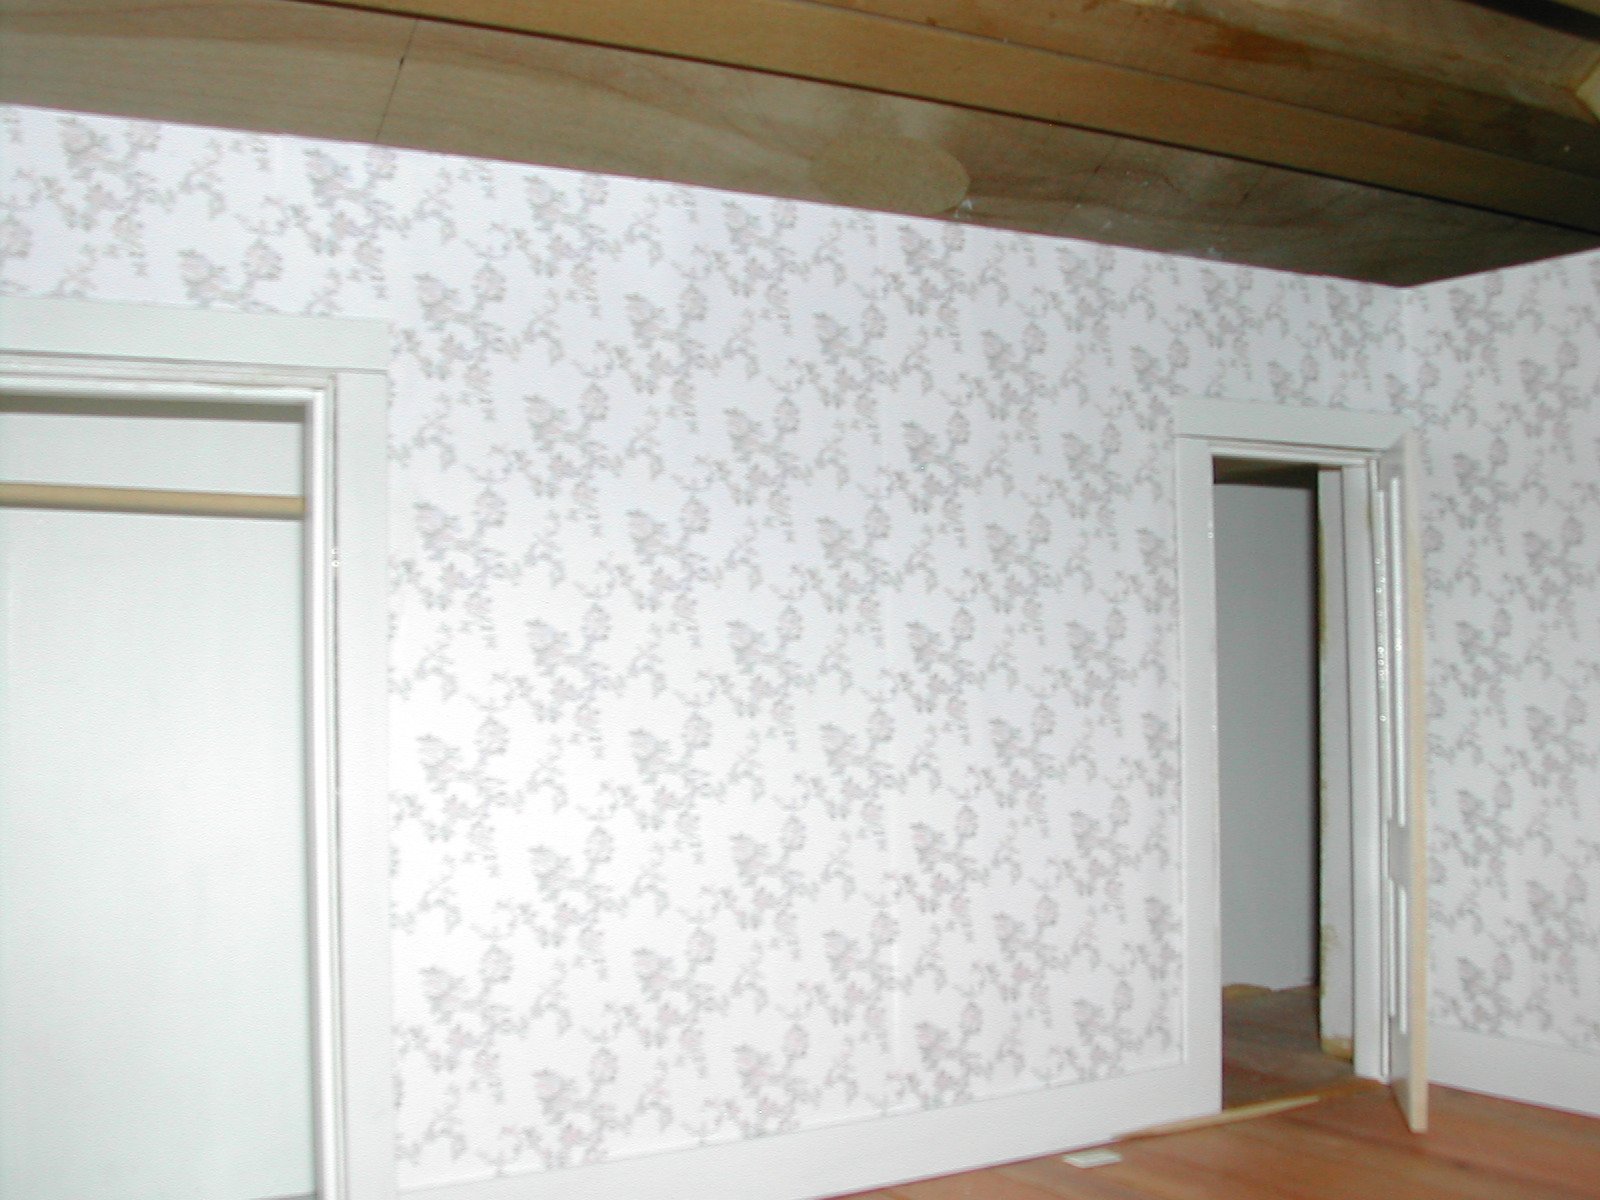
| The pattern in the guest room paper
is very classic, with flowers and ribbons of tiny flower buds creating
a
diagonal design.
This paper had to be greatly simplified as the original is very
complicated and much of the detail would disappear when brought down to
scale. But the "feel" of this simplified version is the same as
the full sized paper, the design of which has many more extremely
subtle flowers in each bouquet, some so small that in 1/12 scale it
would appear as a single pixel. Note that the crown molding has not yet
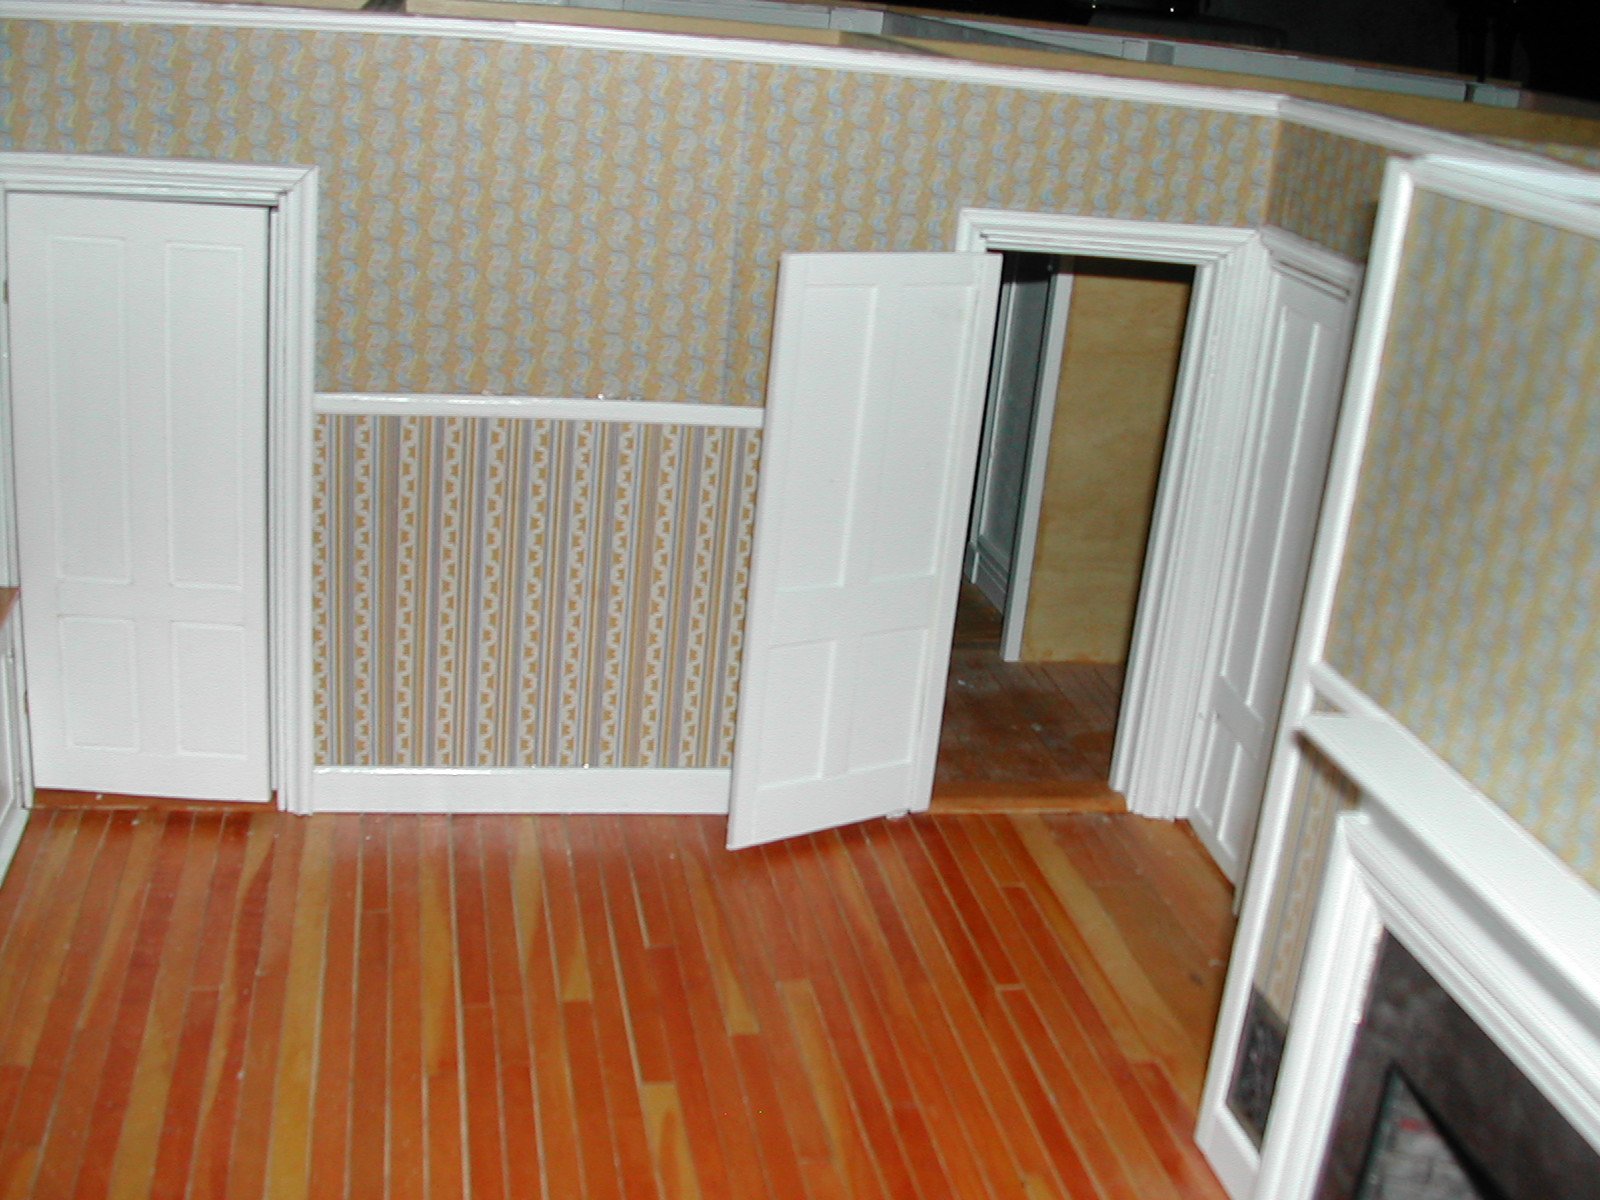
been glued in place. You are looking into an open closet to the left. |
 |
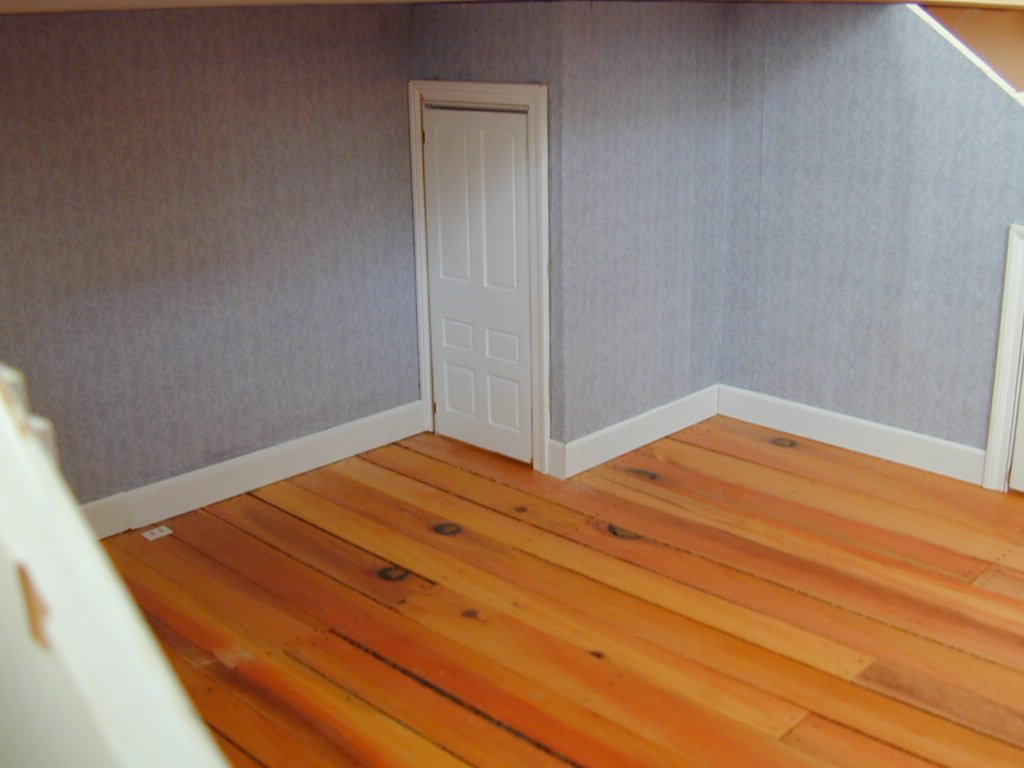
The master bedroom wallpaper is another example of the miniature being "frozen in time" as the room has recently been restored and now has walls painted in a soft green gray tone typical of the colors one would have found in 1838, the year the house was built. It is clear in this photograph how the moldings were applied over the edges of the wallpaper. The low closet to the extreme right (you can see only it's painted frame) is used to store shoes and pocketbooks. On the interior of the door is a rack for hanging neck ties. |
 |
The kitchen paper is now installed minus the top strip right under the crown molding. The fireplace mantle is yet another time piece. When the kitchen was restored and all of the paint removed from the mantle, we discovered that the mantle had been originally painted to copy the black marble of the living room fireplaces. An area artist, Karen Richards, who specializes in marbleizing, was hired to paint the mantle piece. At some point in its history, the mantle had been shortened and Galo Hernandez, III, who is the restoration expert of the full size home, carefully constructed and attached new end pieces so that the entire work is once again in proper proportion. By the time this work was begun, the mantle and fireplace in the dollhouse had already been installed and once glued in place, it was no longer possible to modify it to match the rebuilt original. |
 |
| Here is the dining room wall adjacent to the built -in china cabinet whose open door is slightly visible at the lower left. During restoration, the section below the chair rail was enhanced and painted white but the wallpaper on the upper portion remains unchanged. |
 |